This open “OpenWeatherMap” component is designed to display weather data. It uses Google Maps API to geocode the address into coordinates. Then, using these coordinates, it makes an API call to OpenWeatherMap, to retrieve the current local weather data of that area. It’s a useful component for anyone who wishes to quickly and easily integrate weather data based on an address, using React in the application.
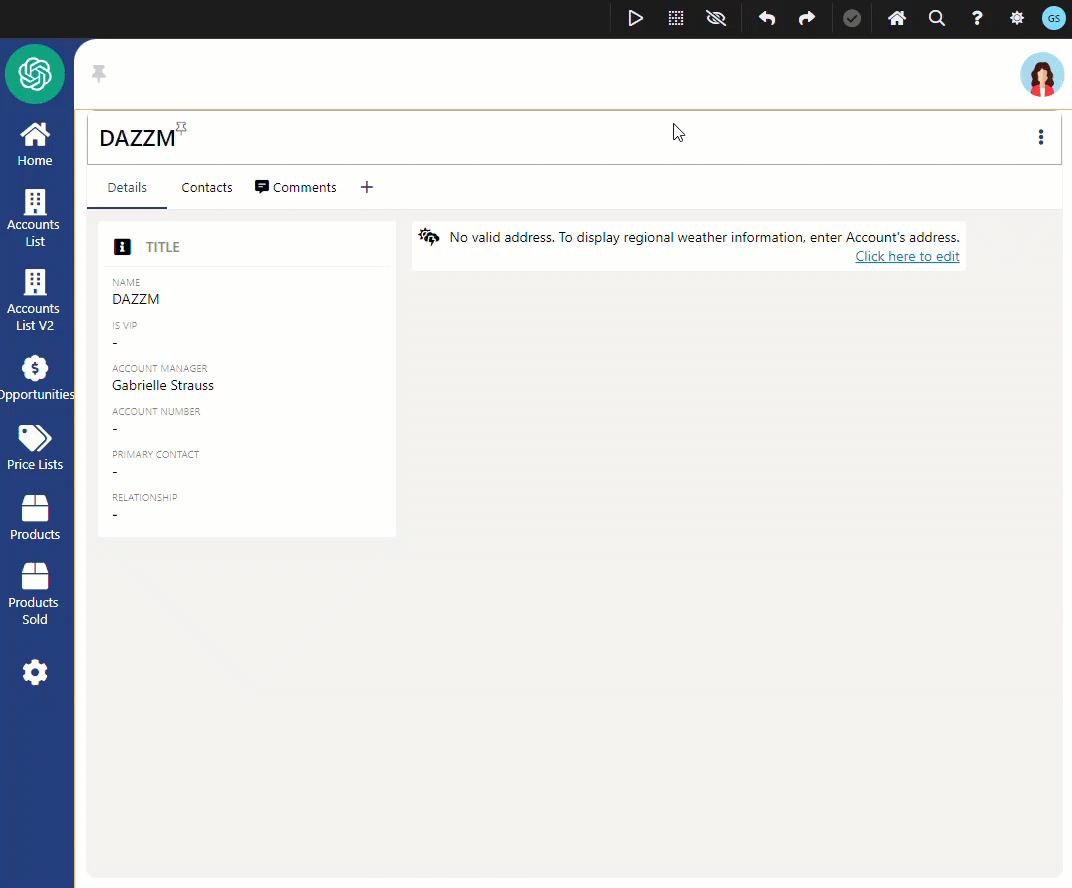
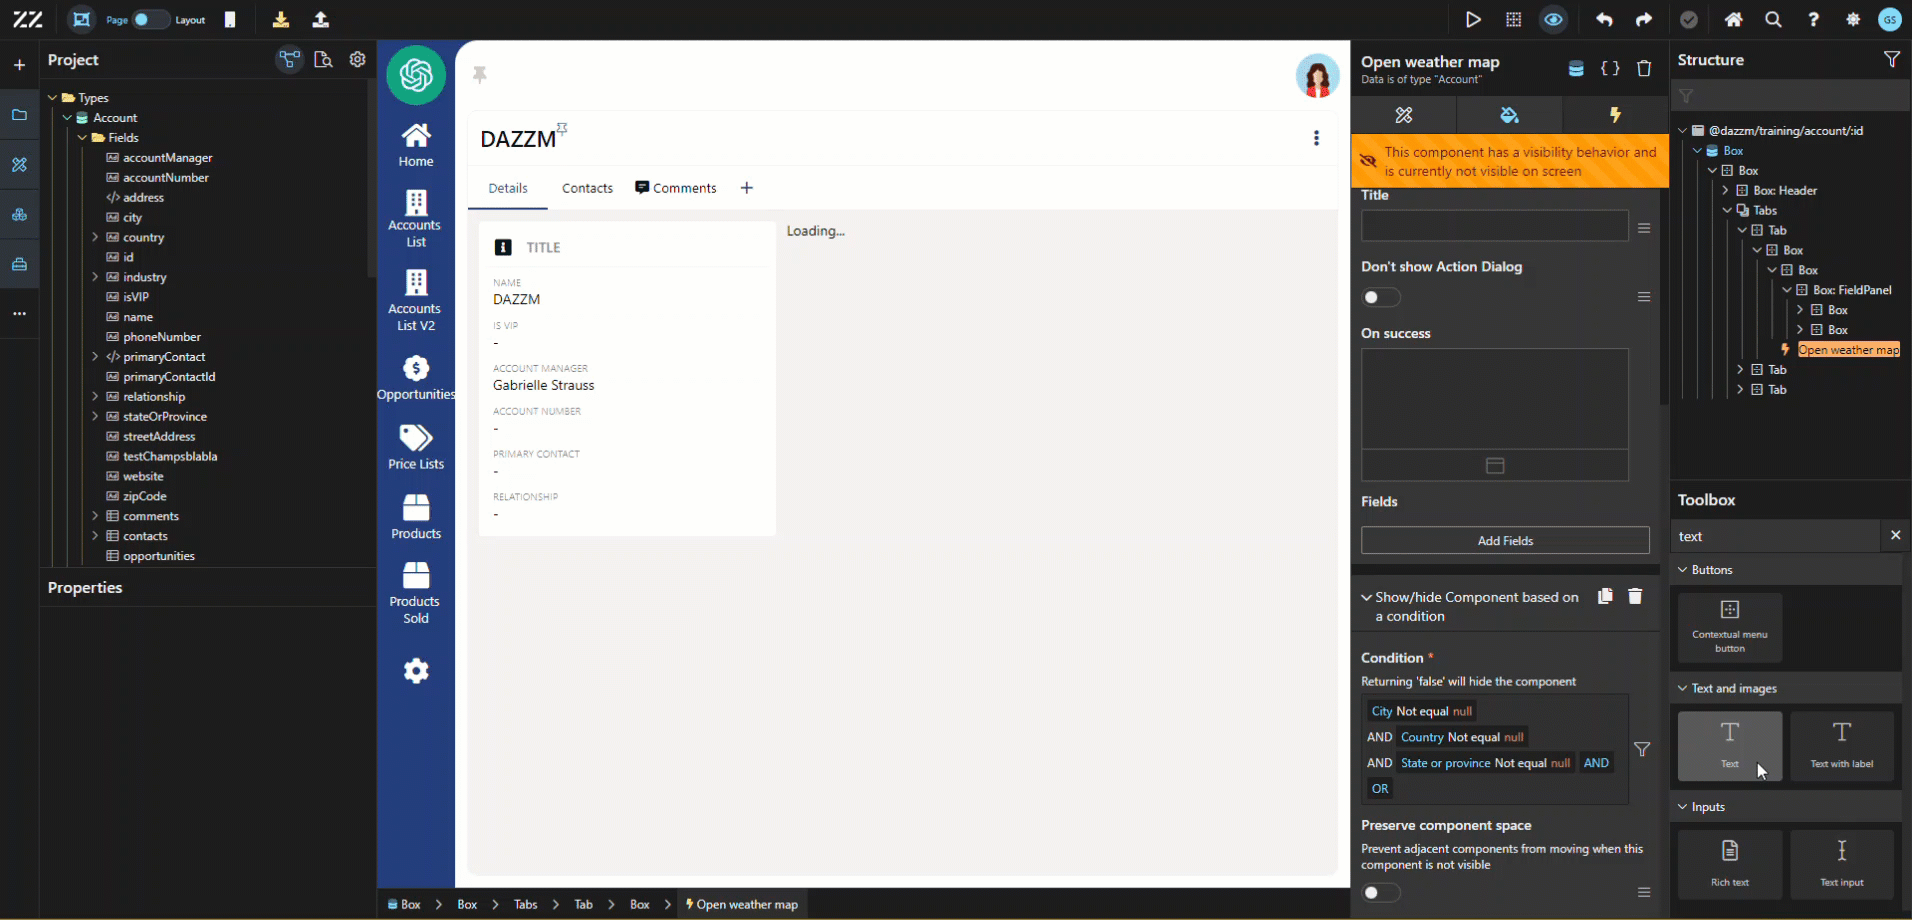
After adding the component to the account’s detail page, a panel was added to display a message to the user, explaining that an address needs to be provided, to display the account’s weather information. It will only be visible when the city, state or province and country are not completed.
You need to have your own account, in order to have an API key to insert in the code provided in this document.
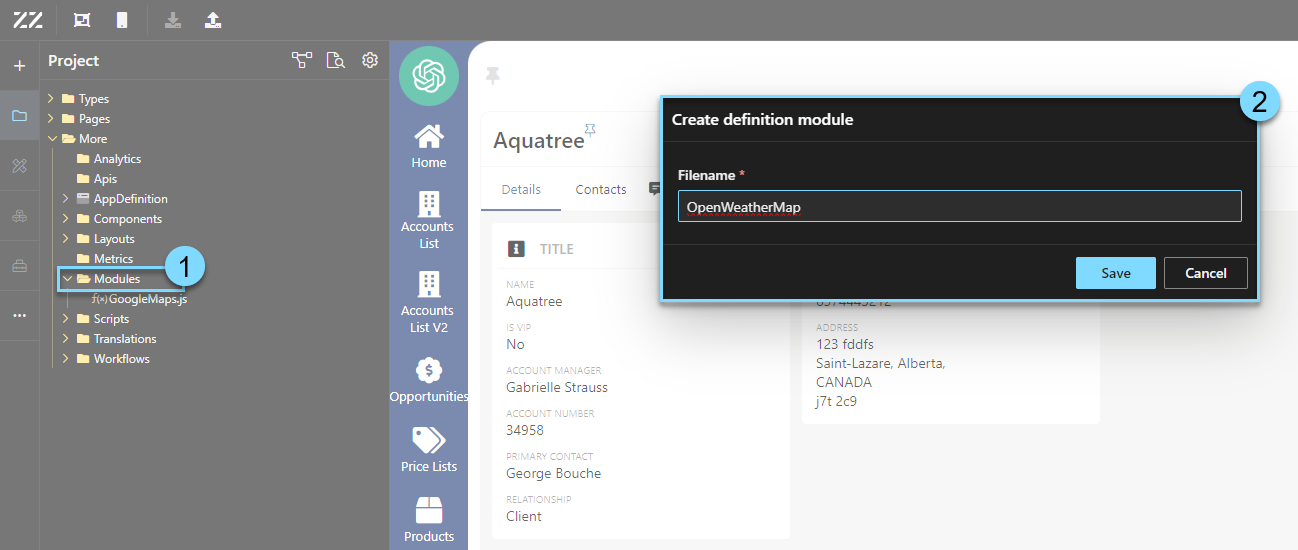
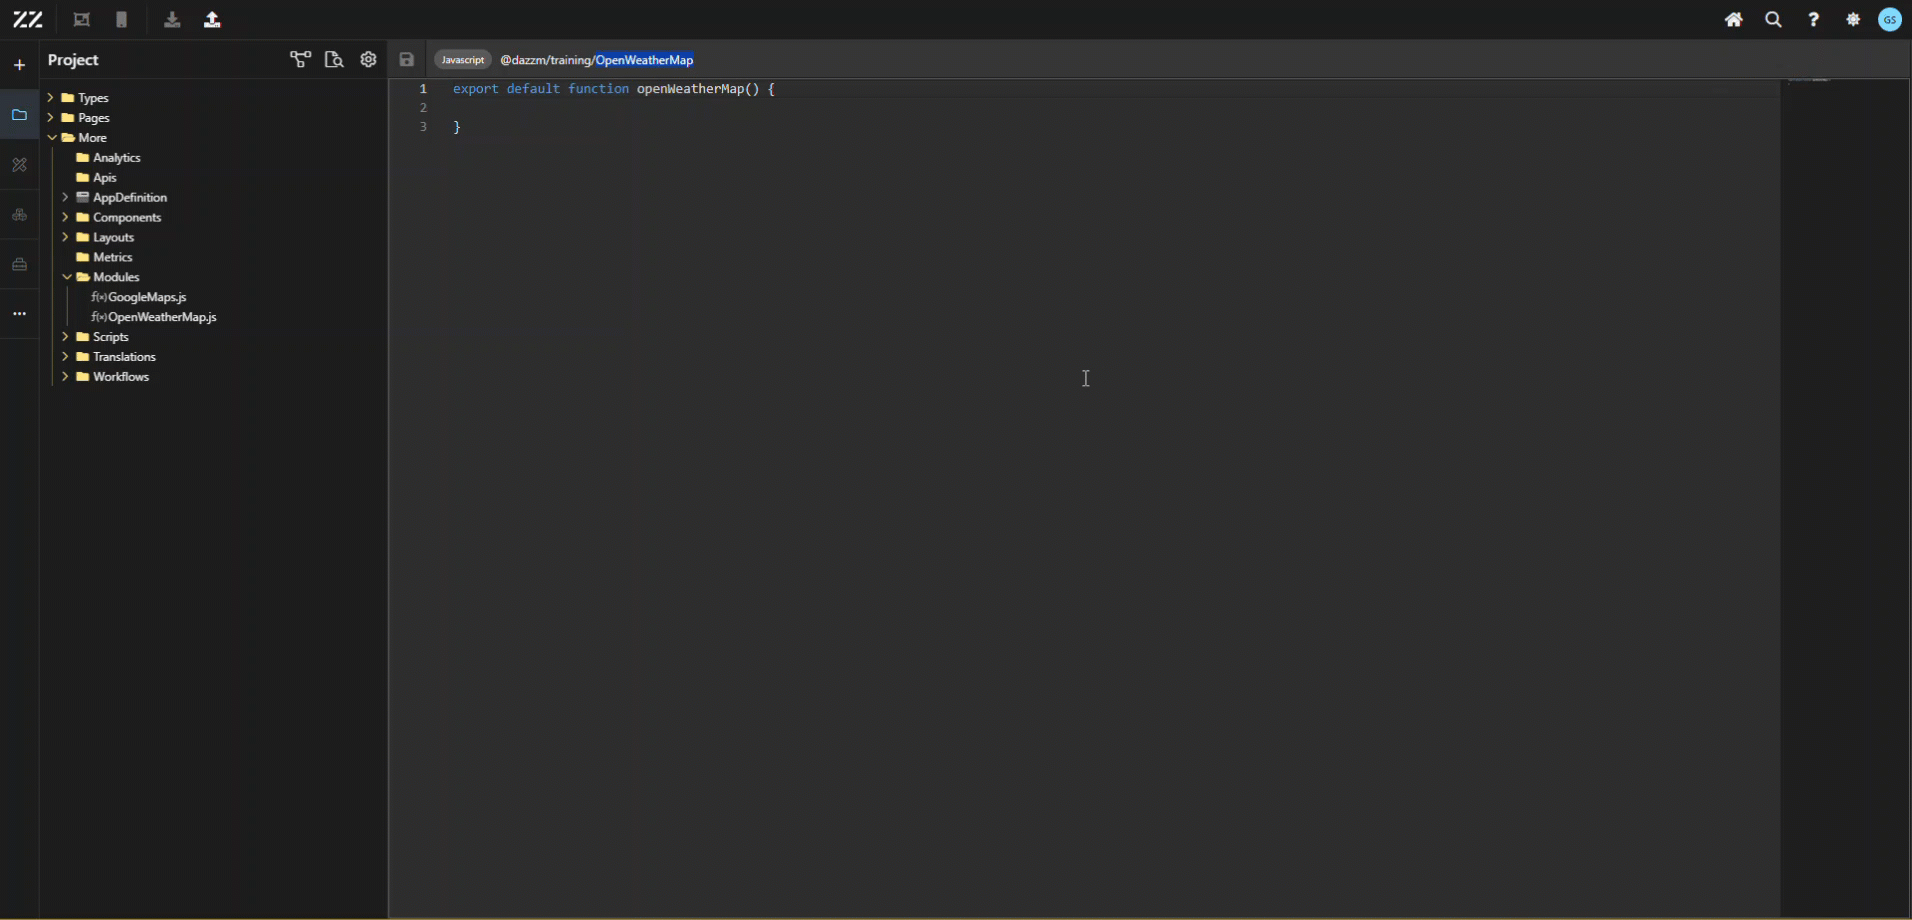
Start by creating a new module. In this example, it’s named “OpenWeatherMap”. Then, copy its module ID, as it will be used in step 3. This is done simply by clicking on it, in the top section of the module page.
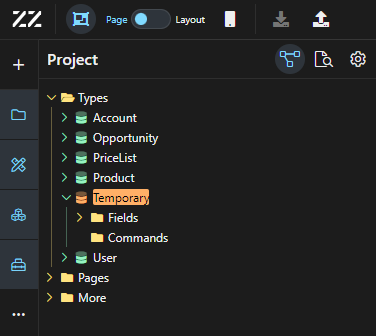
2. Creating a “temporary” aggregate (it could be deleted after creating the entity, in step 3)
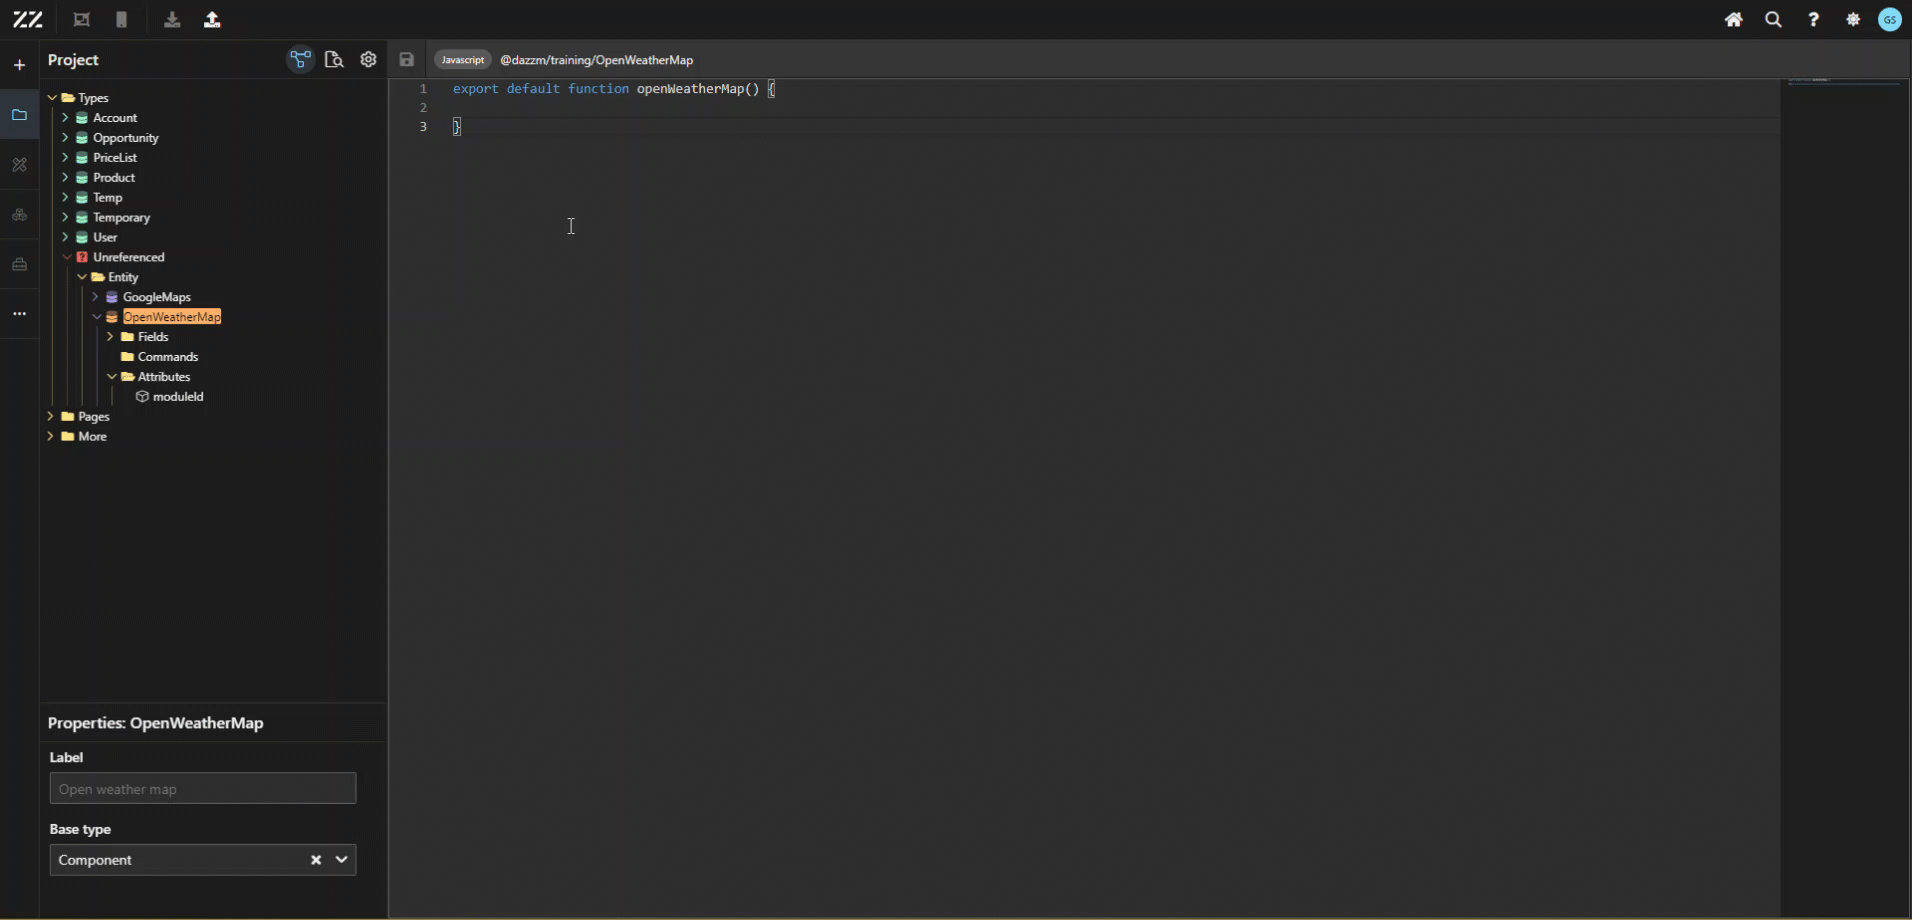
Create an Entity “OpenWeatherMap” under the temporary Aggregate. From the properties panel, set the base type to “component”. Then, add an attribute of text (string) type, put “moduleId” in name and paste the module value copied from step 1.
From this point on, the reusable component “Google Maps” will be in the toolbox but won’t work until the Javascript code is added.
4. Copying and Inserting JavaScript Code for API Calls
To add the Javascript code in, copy and paste this code in the newly created module (from step 1) and save the change. To learn more about what each section of the code does, go to the last section of this How To.
Insert a google key to line 35 and an OpenWeatherMap key on line 56
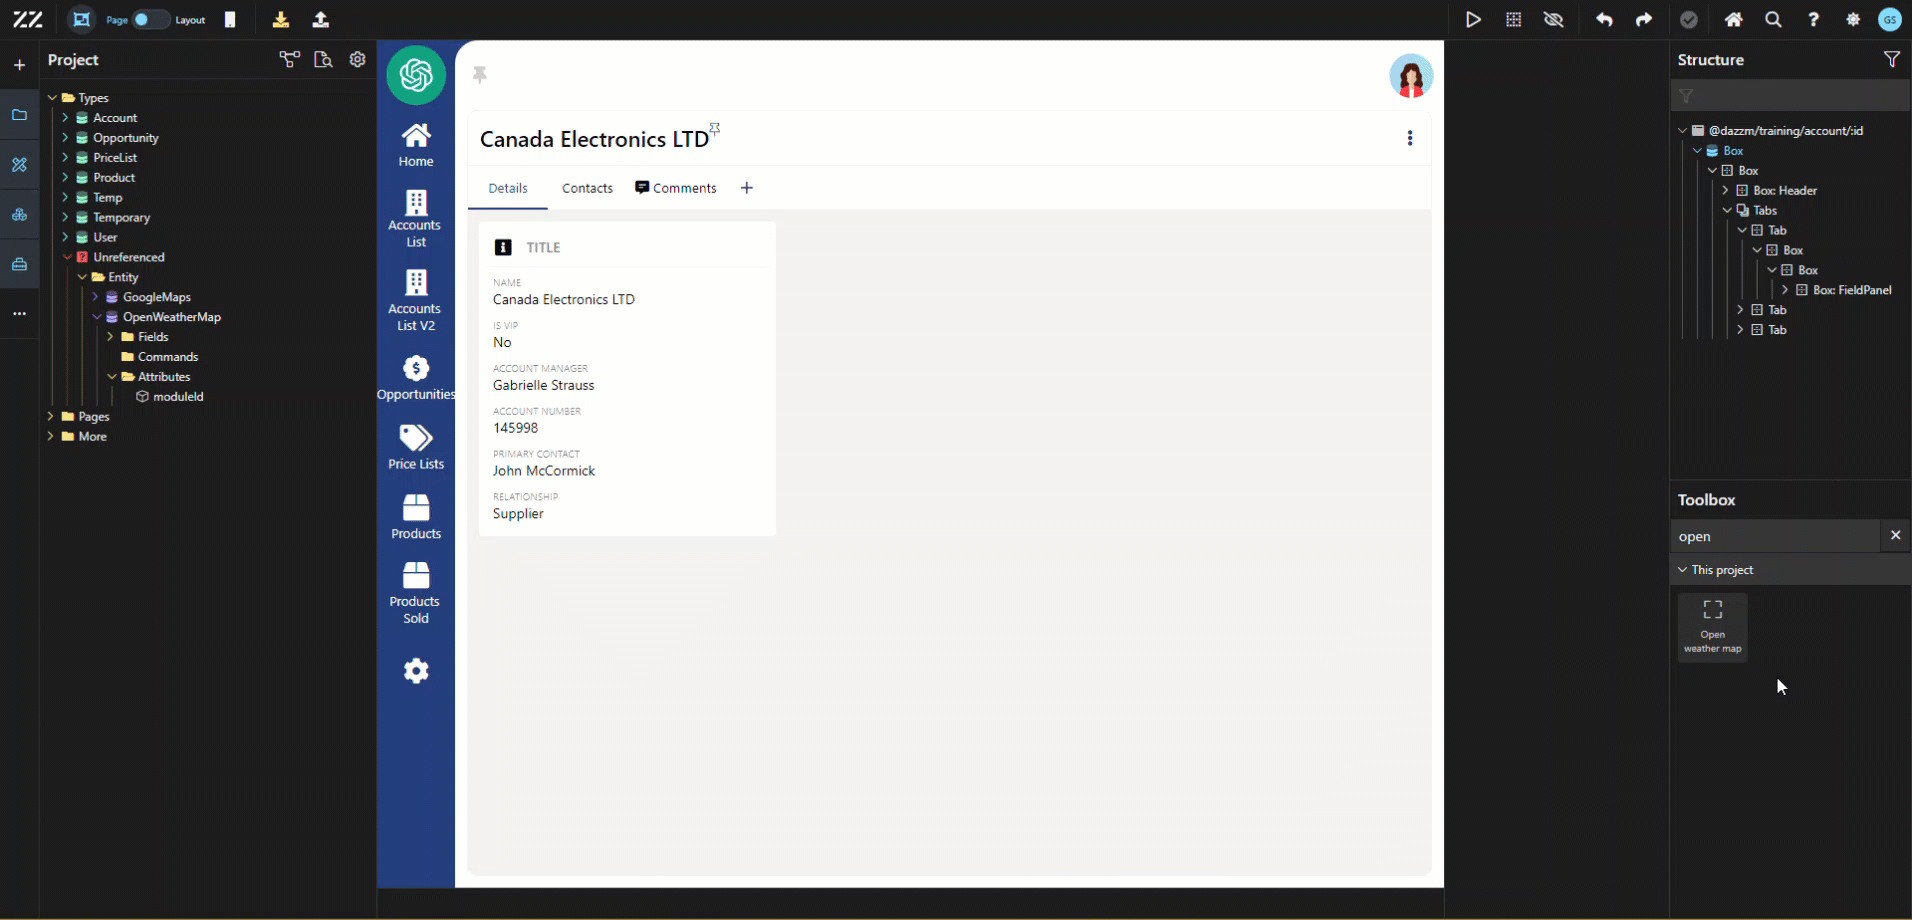
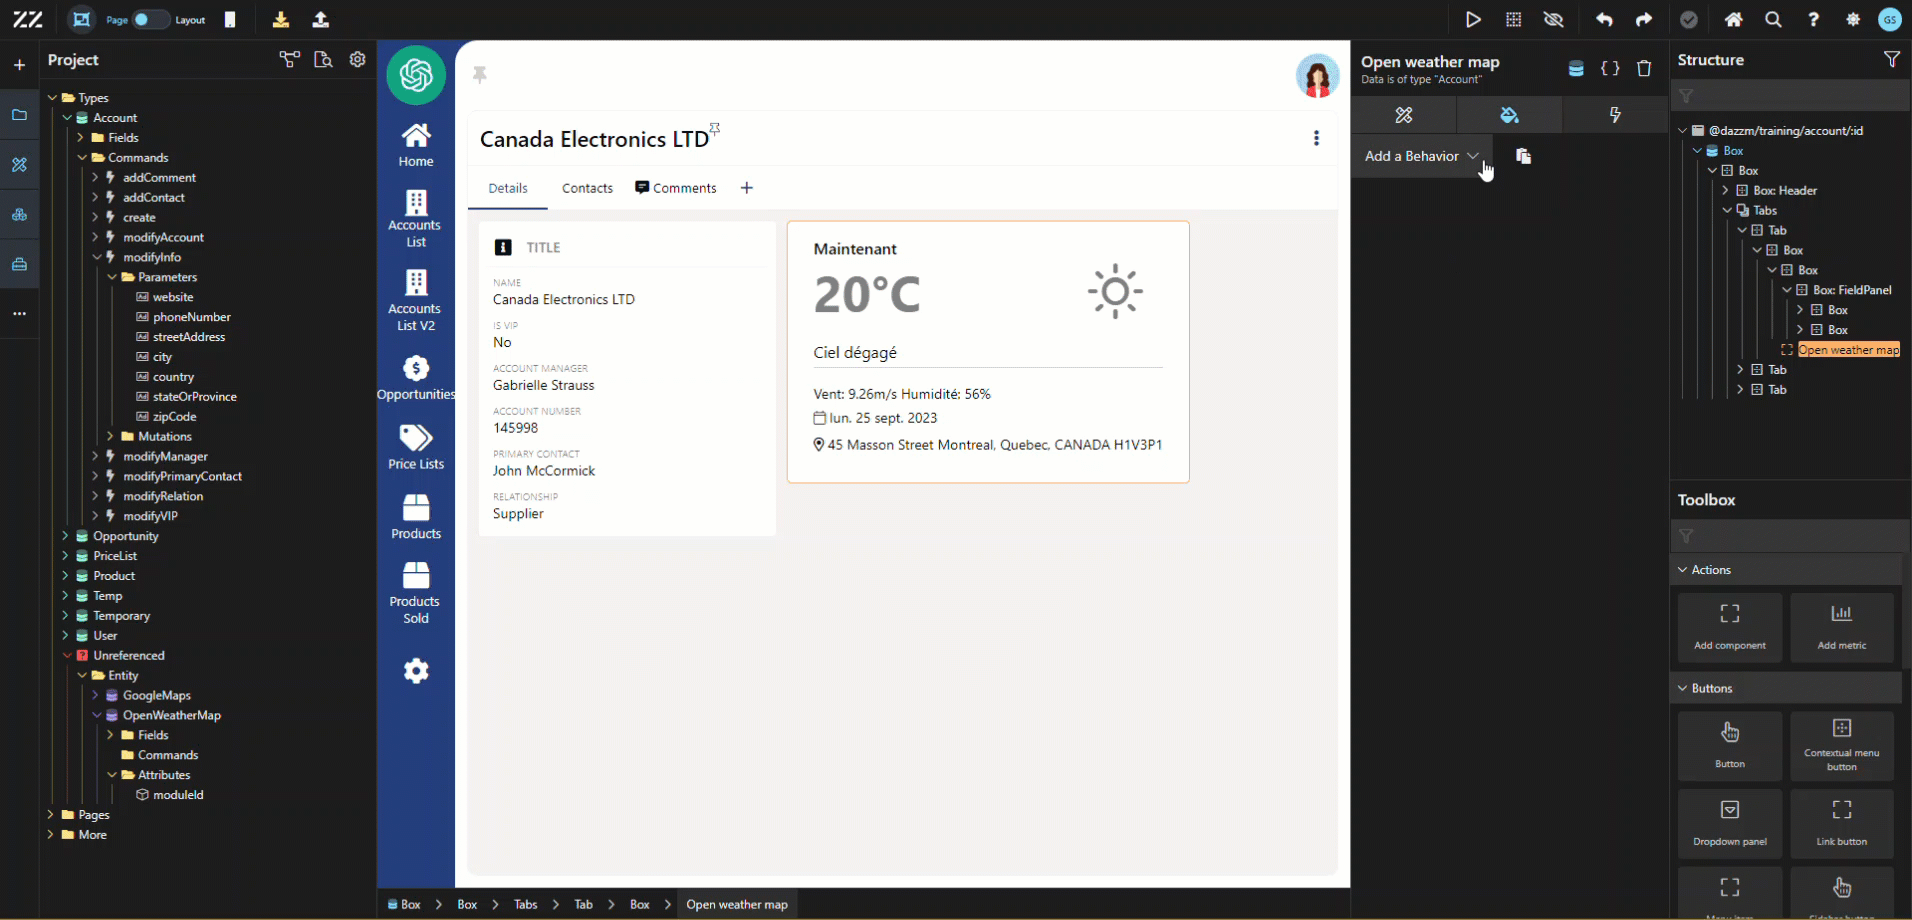
Drag and drop the OpenWeatherMap component from the toolbox to the UI of your page. Then, copy the style applied to the main information field panel and past it to the newly added component.
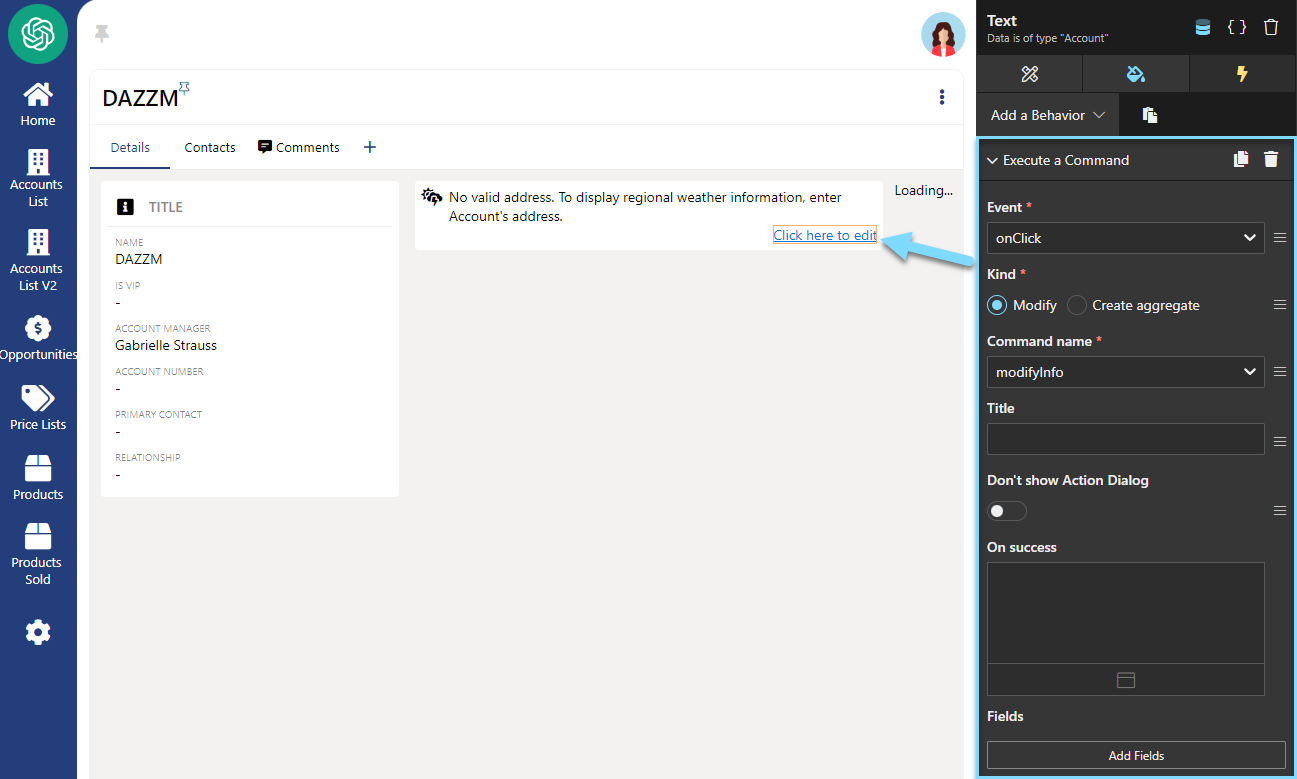
Add a “execute a command” behavior to the OpenWeatherMap, onClick, modify and link it to the corresponding command allowing users to change the account’s address. From this point on, the weather component is fully functional.
You could have decided to manage this via the code changing line 70 to those two lines of code. The fist line will validate if the account address is non-existent and the second one verifies that the GPS coordinates are not available after the API call of the getAddressCoordinates function.
if (!data.adress) return<div>Aucune adresse existante</div>;
if (!weatherData) return<div>Loading...</div>;
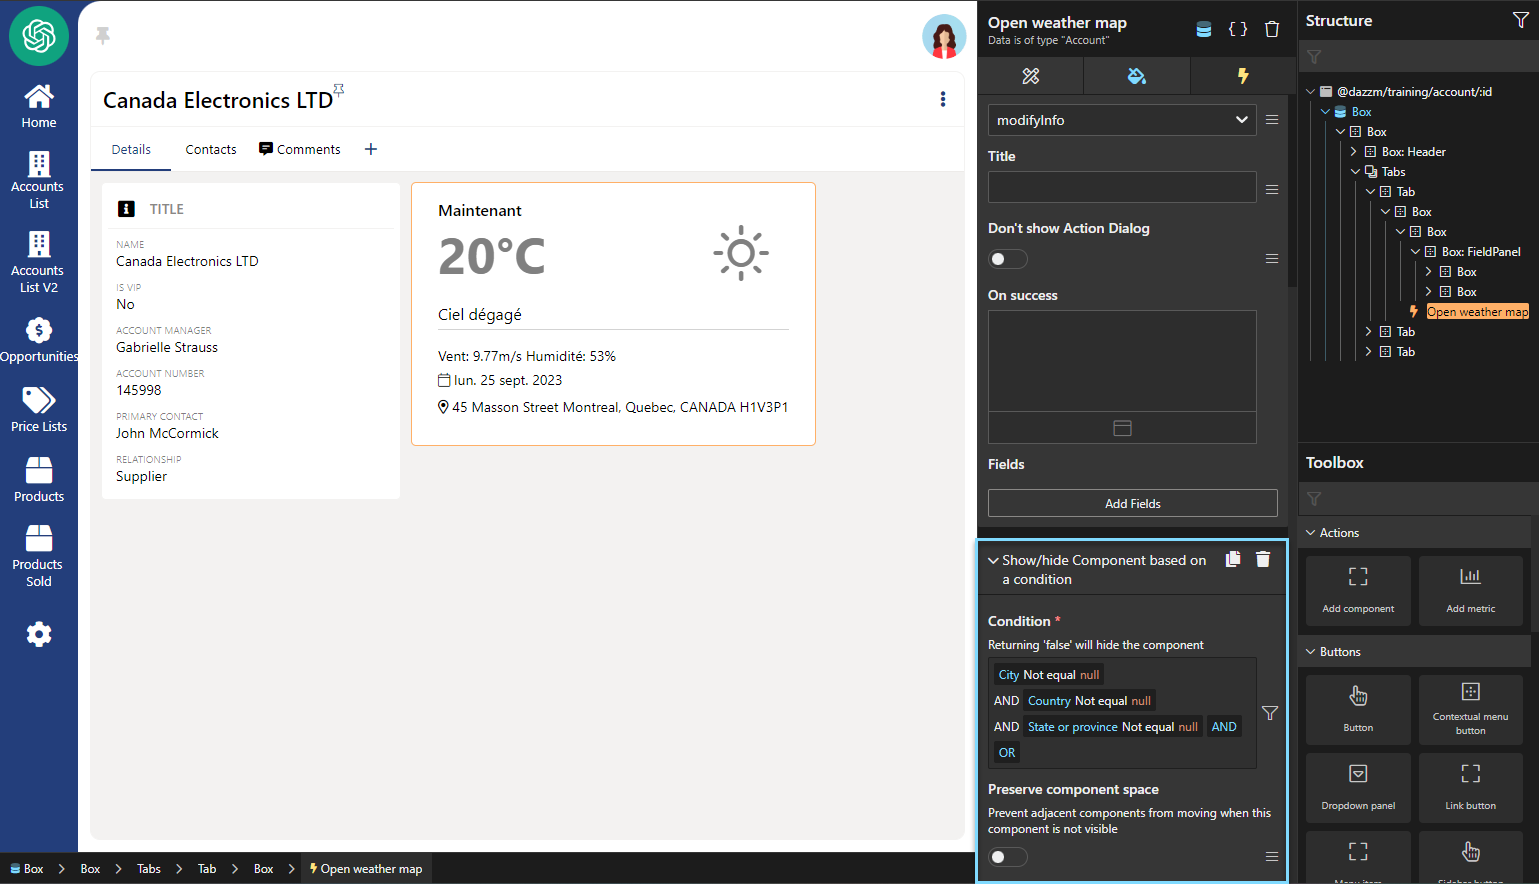
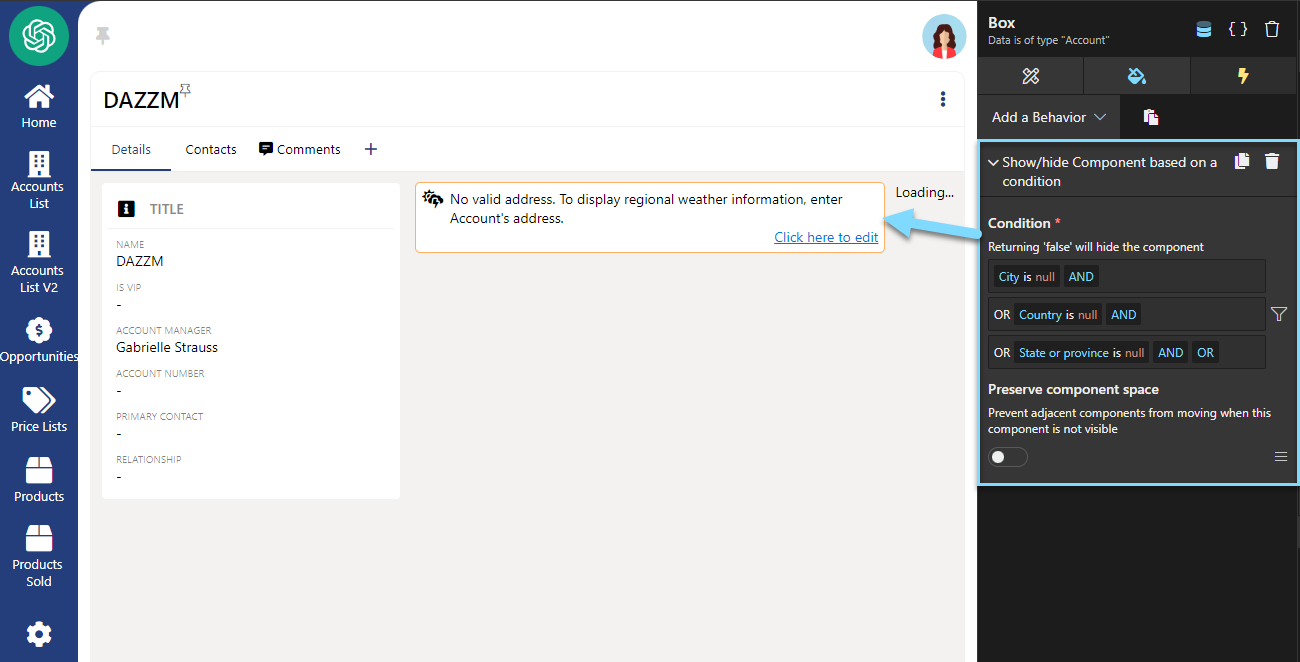
7. Adding Show/Hide Behavior Based on Address Fields
To give accurate weather information, a user will need to provide the city, state or province and country, let’s add a “show/hide component based on a condition” behavior to the OpenWeatherMap.
To create a message informing the user that the WeatherMap can’t be displayed due to lack of data, drag and drop a text component in the page content and change its label for the desired message. Then, add another text component, placed bellow the first one and change the text to “Click here to edit”. Change its color to blue and underline it, then, apply an align right. Next, add an icon to the left of the first message. In this example, the ”thunderstorm sun” icon was used. Item spacing was added to the box containing the icon and text component. Copy the style of the main field panel and past it to the new one. And finally, apply item spacing to the main box to give breathing room between the 2 field panels.
Add an “execute a command” behavior to the second text component, to allow users to add the account’s address.
Lastly, to hide this box when all 3 fields have data, add this “show/hide component based on a condition”:
Name: City / Operator: Equal / Value (JS): null
Name: State or Province / Operator: Equal / Value (JS): null
Name: Country / Operator: Equal / Value (JS): null
Hooks `useState` and `useEffect` are imported from React. These hooks respectively allow to manage the local state of the component as well as execute the side effects. In this case, if the account’s address was to be changed, it would automatically apply the change and display the weather data accordingly.
The `Box` component is imported, to provide a standard layout.
OpenWeatherMap components:
`formatDateInFrench(date)`: This feature uses a date as an argument and converts to the french date format, sending back à formatted chain.
`getWeatherIcon(code, isNight)`: This feature sends back the appropriate class name for the Weather Icons, according to the weather icon code (for example, ‘01d’ for a sunny day) and whether it’s daytime or nighttime.
functiongetWeatherIcon(code, isNight) {
switch (code) {
case'01d':
returnisNight?'wi-night-clear':'wi-day-sunny';
case'01n':
return'wi-night-clear';
case'09d':
case'09n':
case'10d':
case'10n':
return'wi-rain';
case'13d':
case'13n':
return'wi-snow';
case'03d':
case'03n':
case'04d':
case'04n':
return'wi-cloudy';
default:
return'wi-na';
}
}
`getAddressCoordinates(address)`: This next feature uses Google Maps API to convert an address into its longitude and latitude coordinates.
console.error('There has been a problem:', error);
});
}, [data.address]);
**Display**: if the meteorological data is not yet displayed, the component will display “Loading…”. Otherwise, it will display the weather information, including temperature, weather icon, humidity, date, etc. The styles applied here are Constants declared and assigned in the Style section, seen bellow.
This guide explains how to create and integrate an OpenWeatherMap component into a custom React application. It walks through setting up the module, adding the required APIs, and managing user interactions for displaying weather data based on the provided address.