Use Grid to Create a Table
Updated on Published on
Article summary
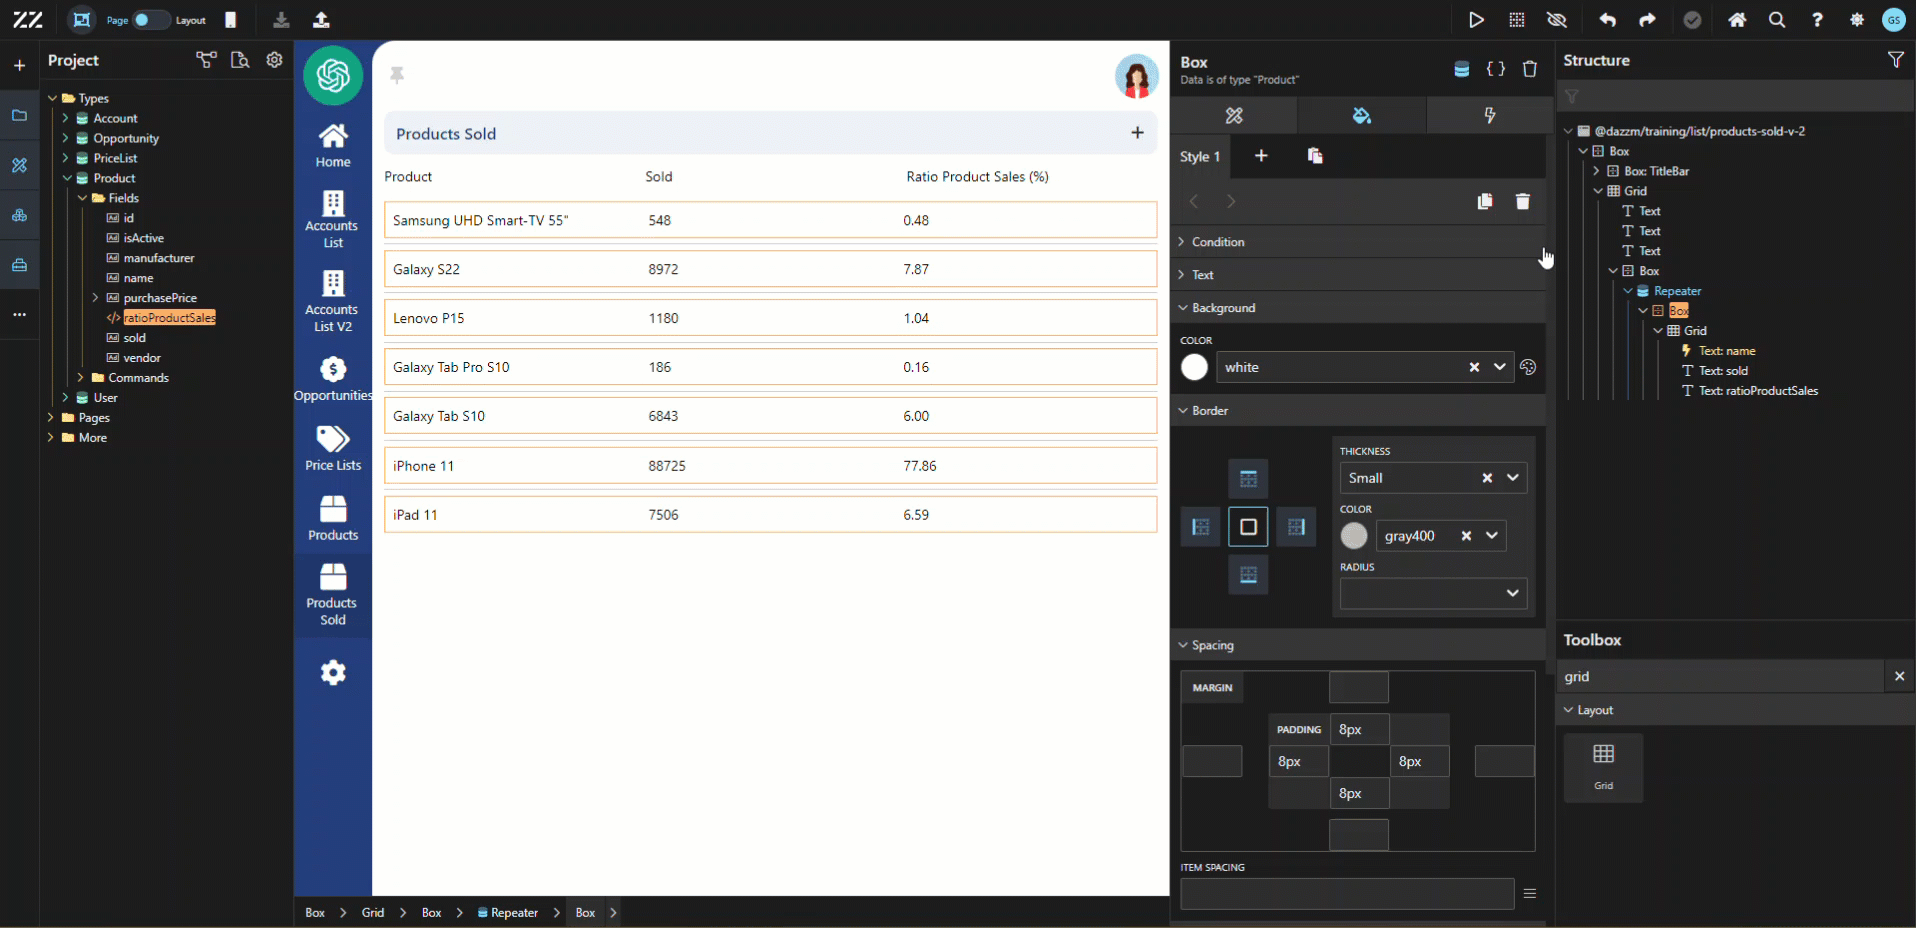
In this example, the table will give users the number of items sold per product and calculate the percentage of sales attributed per products. 1. Creating a "Sold" Field and Update Command Before creating the table, we need to create data. Create a new “sold” field, of type number and add it as a required field to a new update command. In this example, the command’s name will be “sellProduct” and the event type “PRODUCT SOLD”.
Step-by-step instructions
Section titled “Step-by-step instructions”1. Creating a “Sold” Field and Update Command
Section titled “1. Creating a “Sold” Field and Update Command”Before creating the table, we need to create data. Create a new “sold” field, of type number and add it as a required field to a new update command. In this example, the command’s name will be “sellProduct” and the event type “PRODUCT_SOLD”.
2. Defining a Computed Field for Product Sales Ratio
Section titled “2. Defining a Computed Field for Product Sales Ratio”Create a Computed field and name it “ratioProductSales and select the text type. In the code section, enter this:
(data.sold / _.sumBy(db.Product.all.map('sold')) * 100).toFixed(2)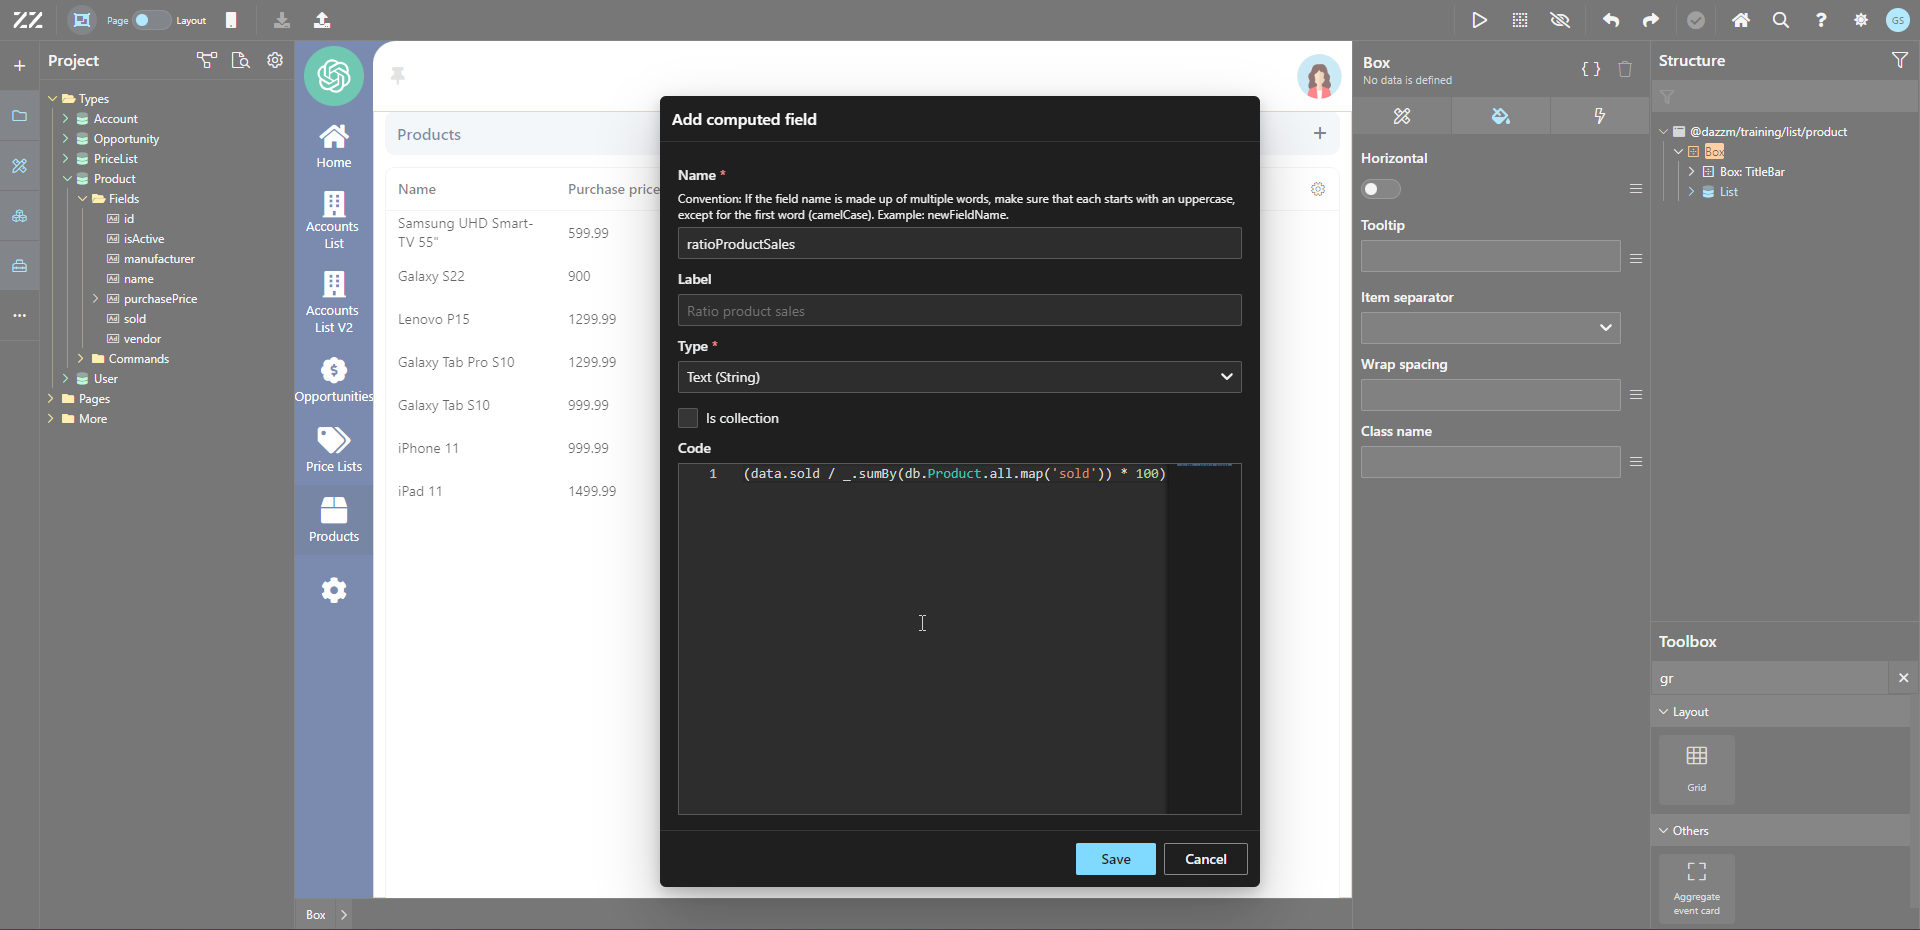
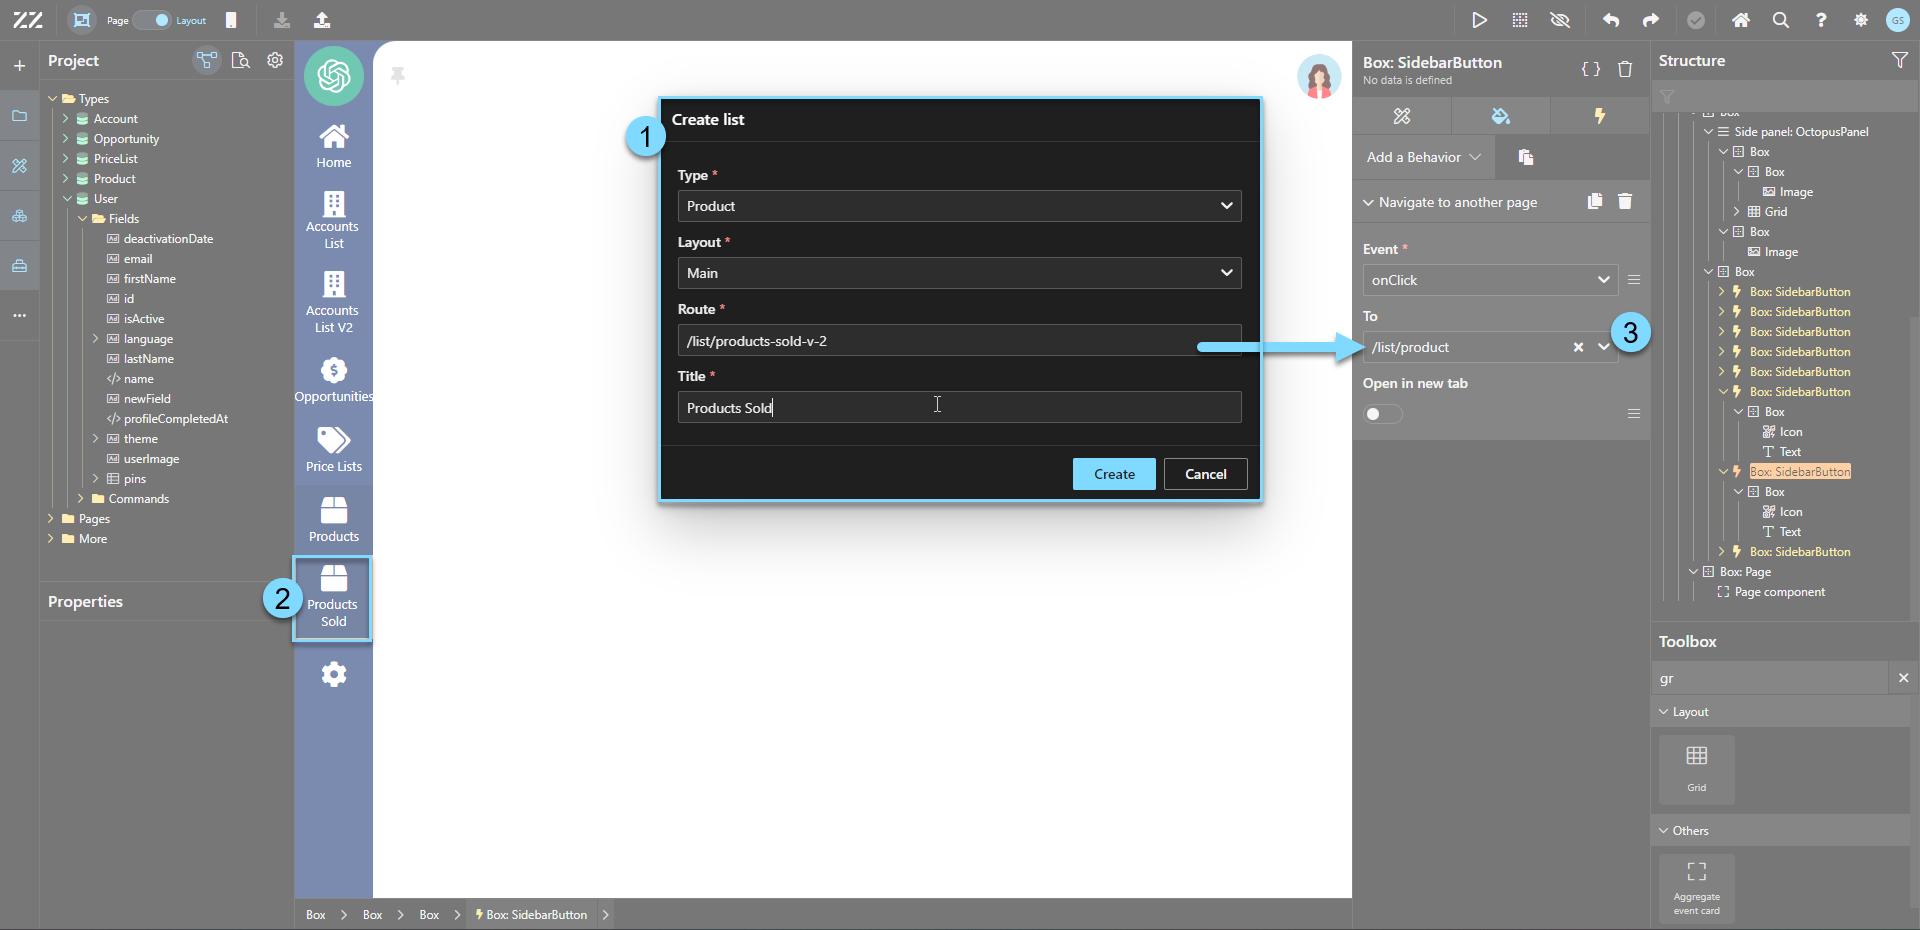
3. Adding Fields and Command to the Product Detail Page
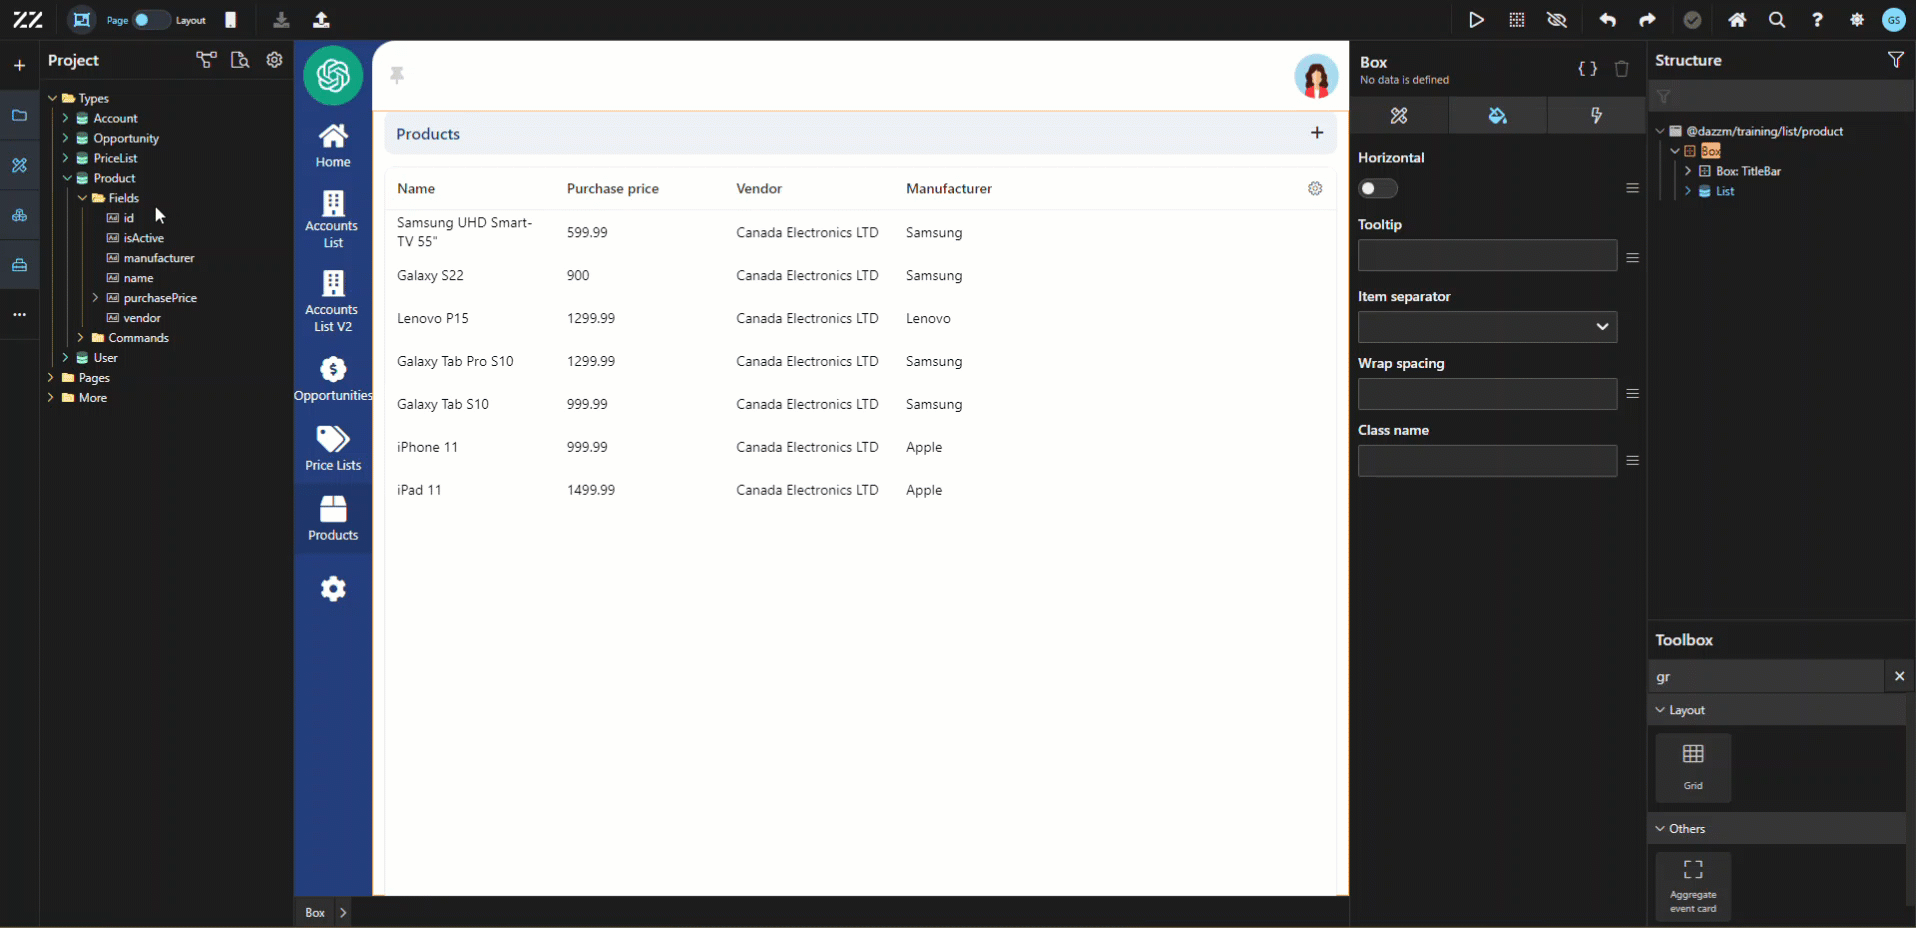
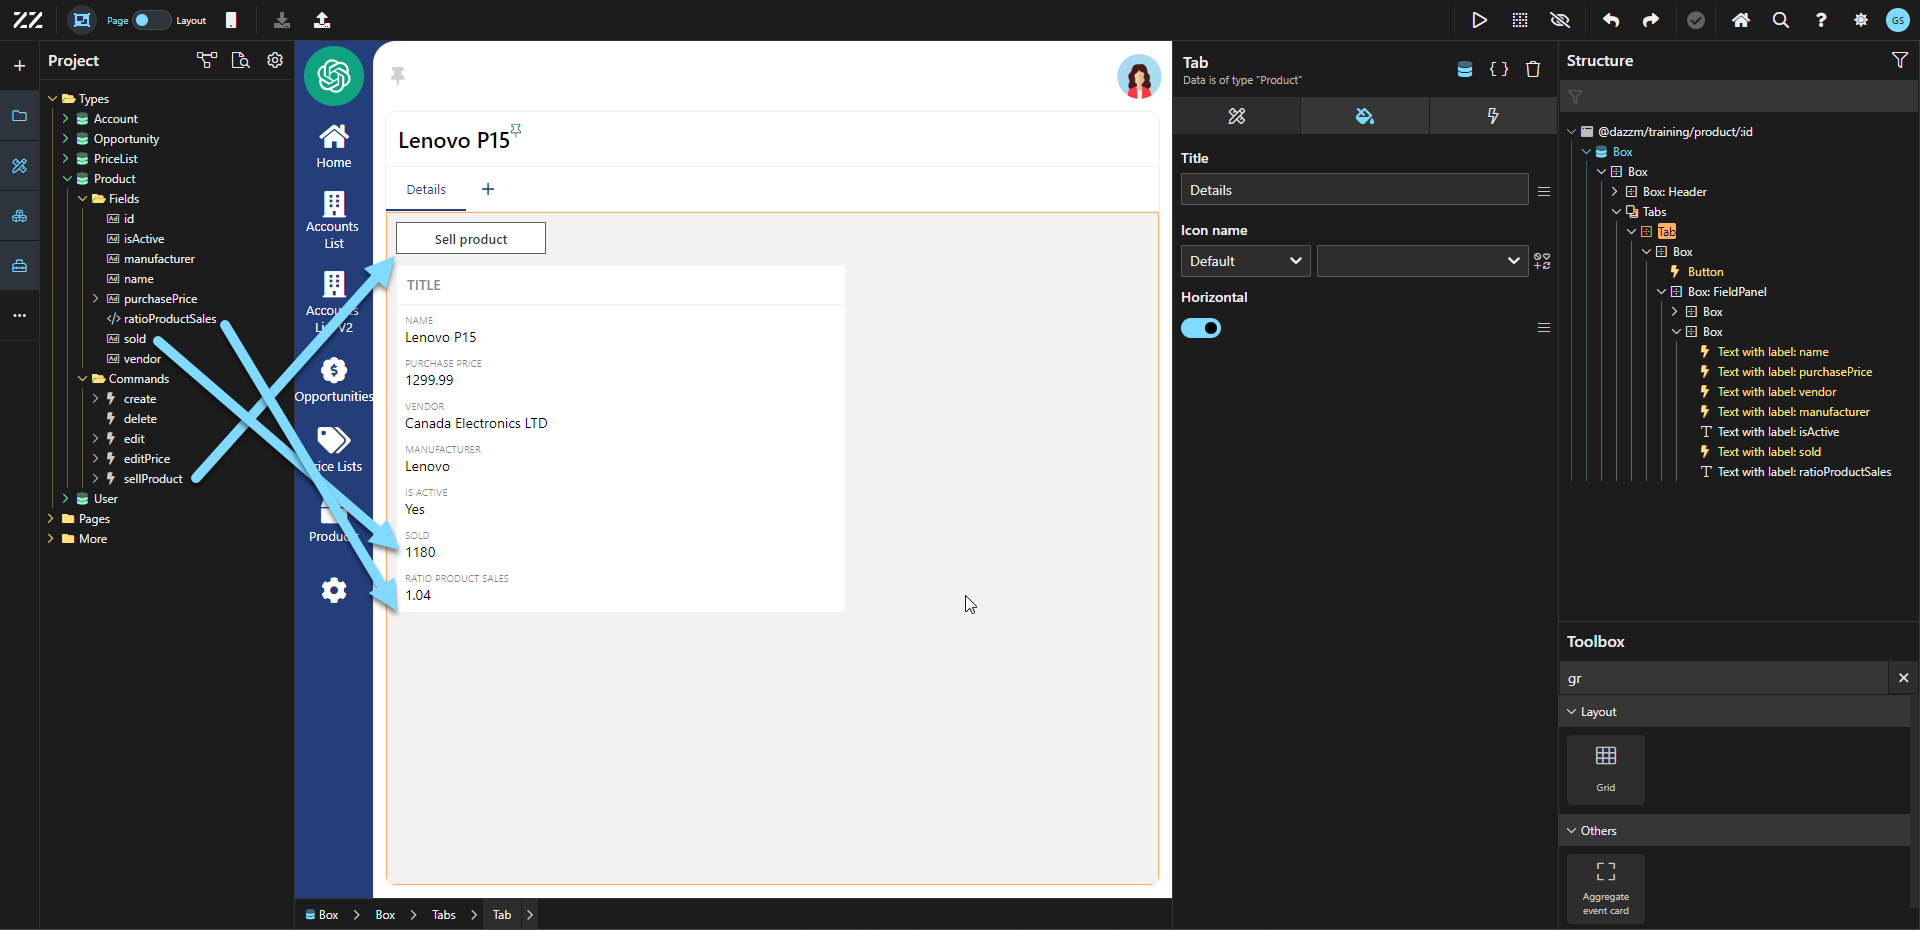
Section titled “3. Adding Fields and Command to the Product Detail Page”Add the 2 fields and the command created in step 1 and 2 to the product’s detail page. At this point, create data by entering how many of each product was sold.
4. Setting Up the Products List Page
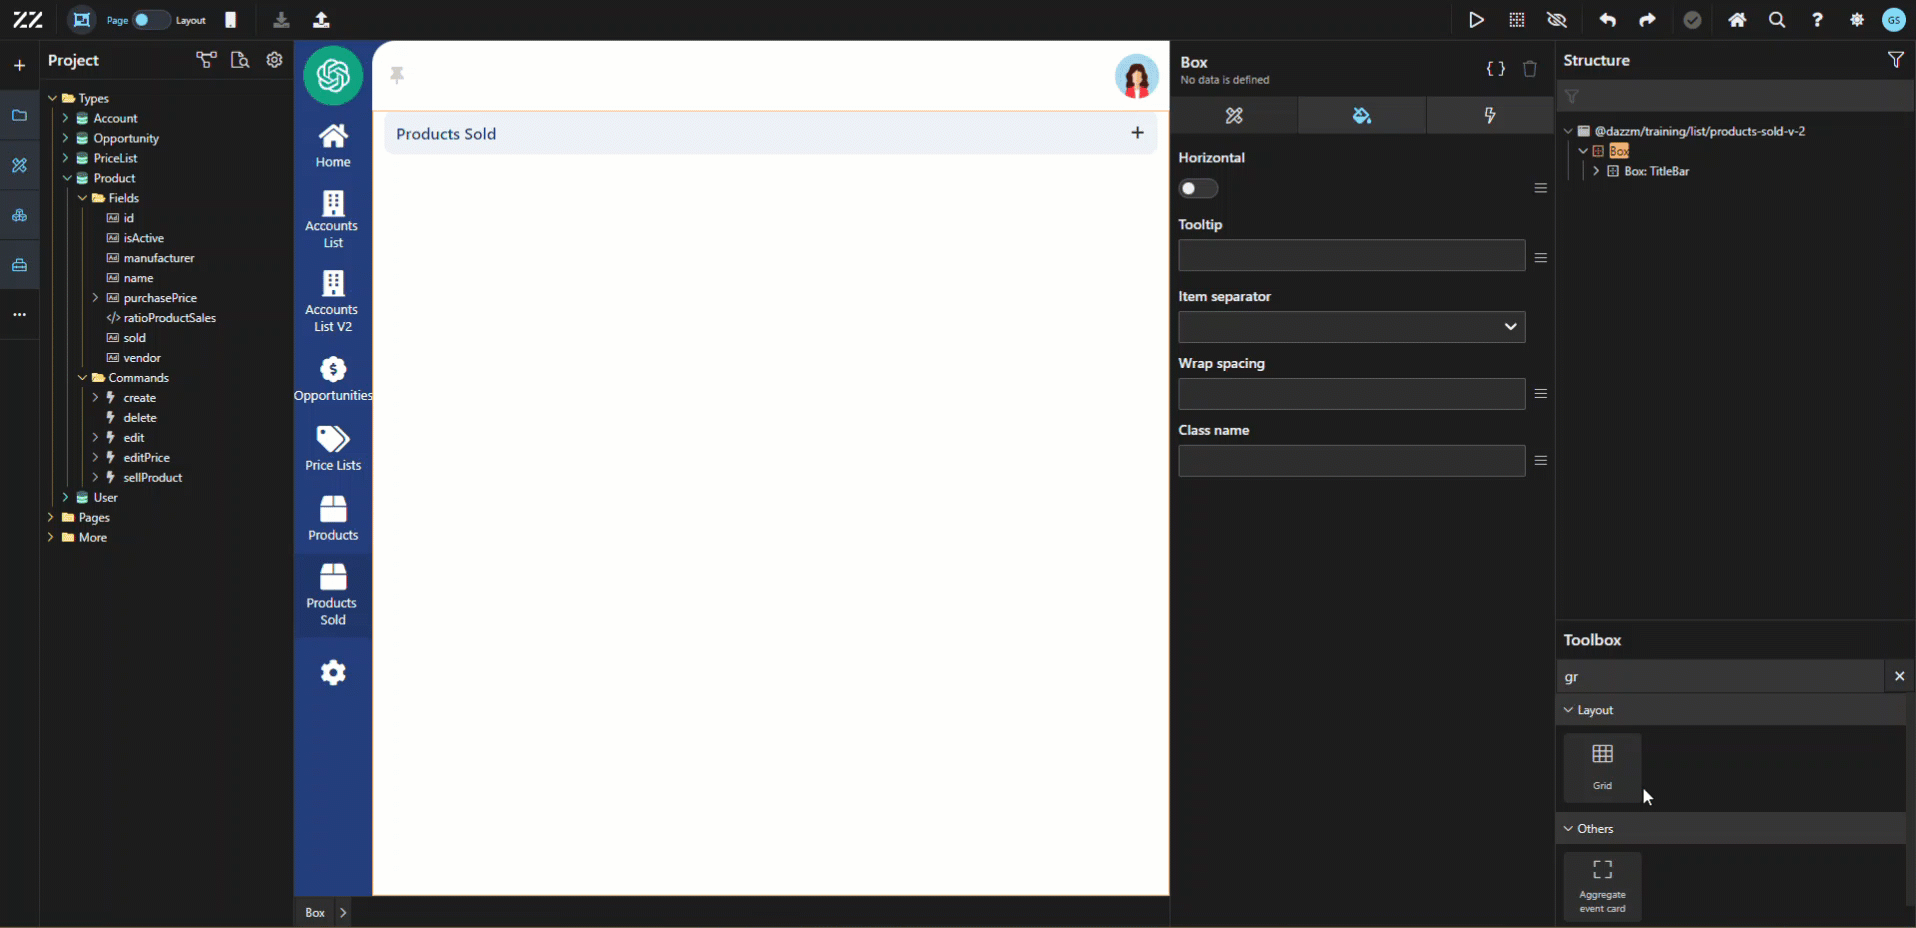
Section titled “4. Setting Up the Products List Page”Create a new products list page and delete the list from the UI. Associate the newly created page to the Product Sold page.
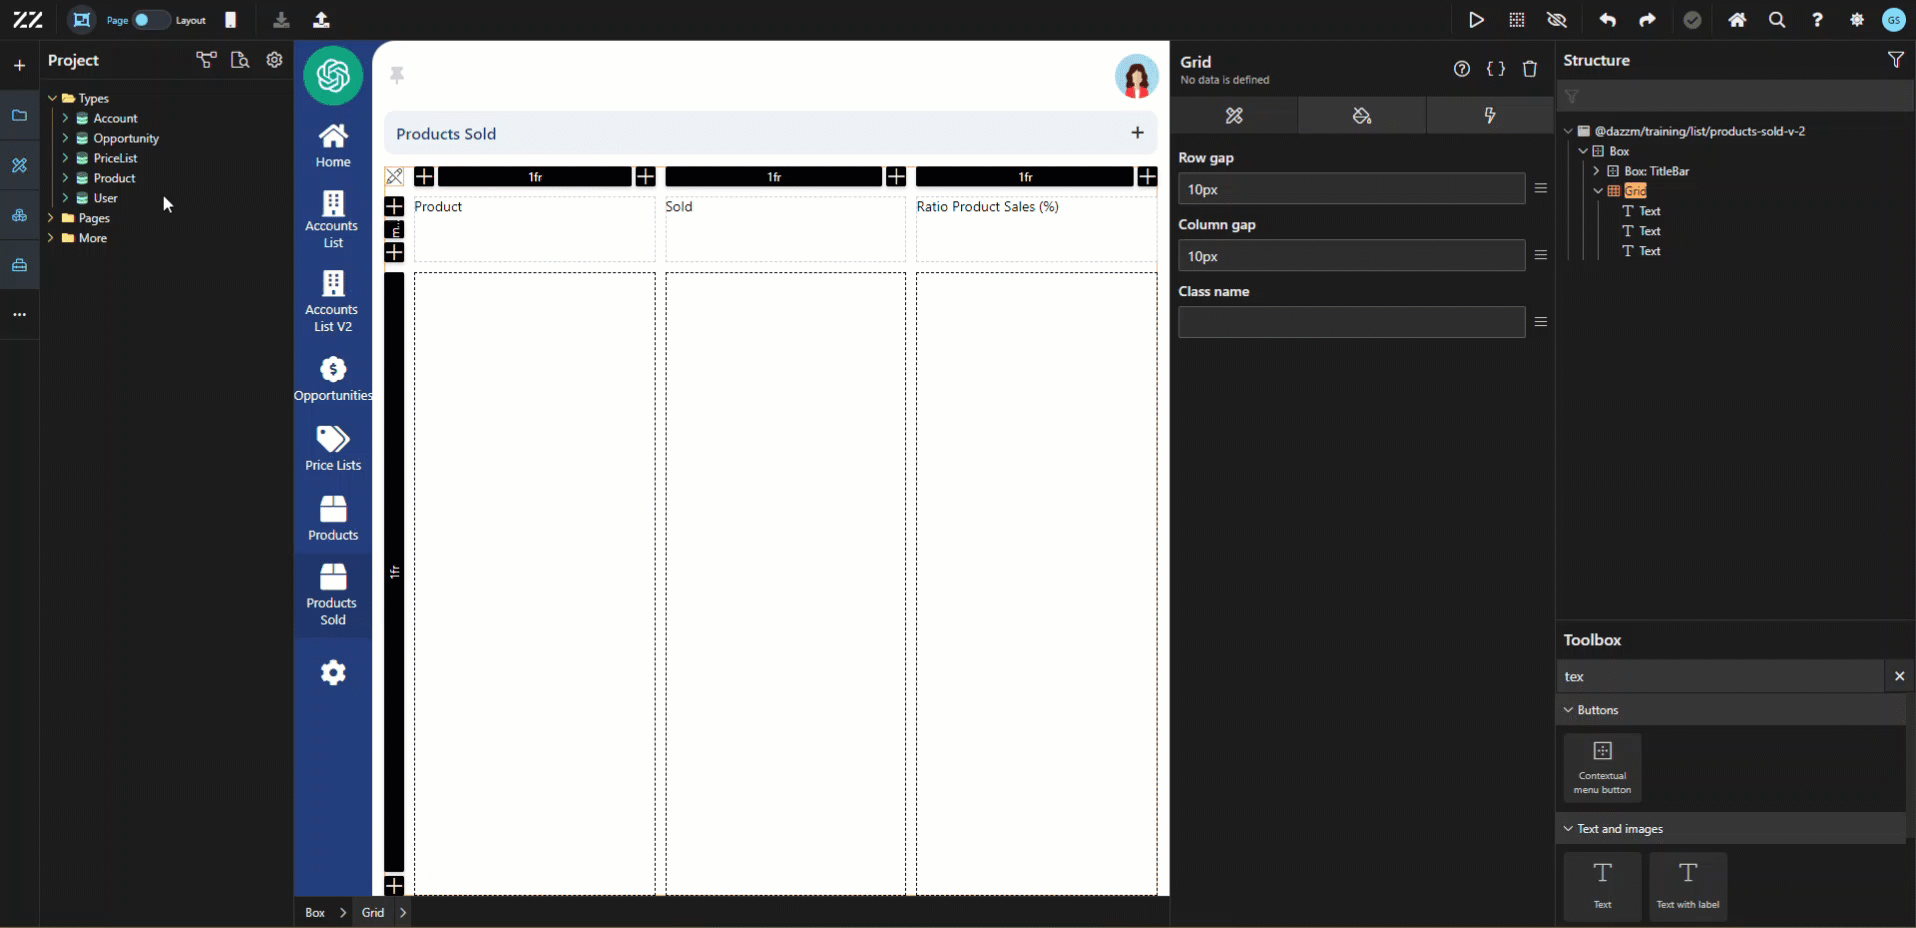
5. Configuring the Grid Component for the Table
Section titled “5. Configuring the Grid Component for the Table”From the toolbox, drag and drop a “grid” component and use the + icon to add another column to the table.
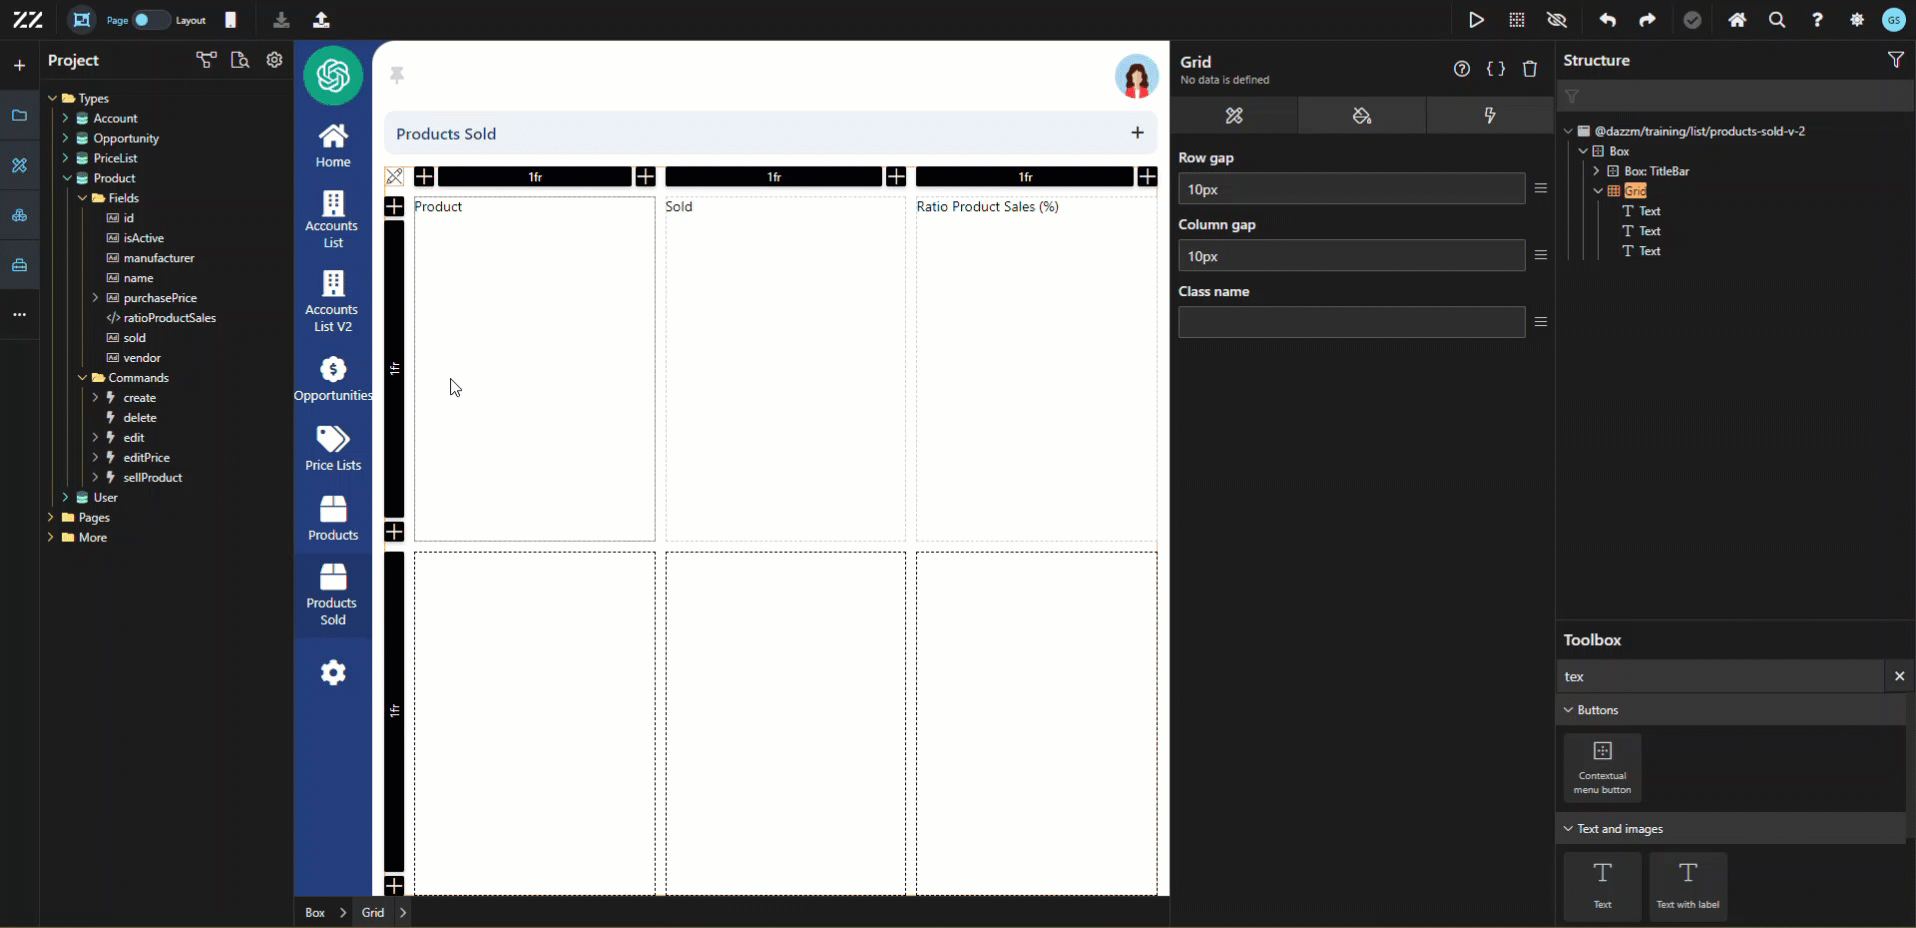
6. Creating Column Titles with Text Components
Section titled “6. Creating Column Titles with Text Components”Use a text component to create your table’s column titles. Simply drag and drop the component in each box of the top row and change their value to: Product, Sold and.
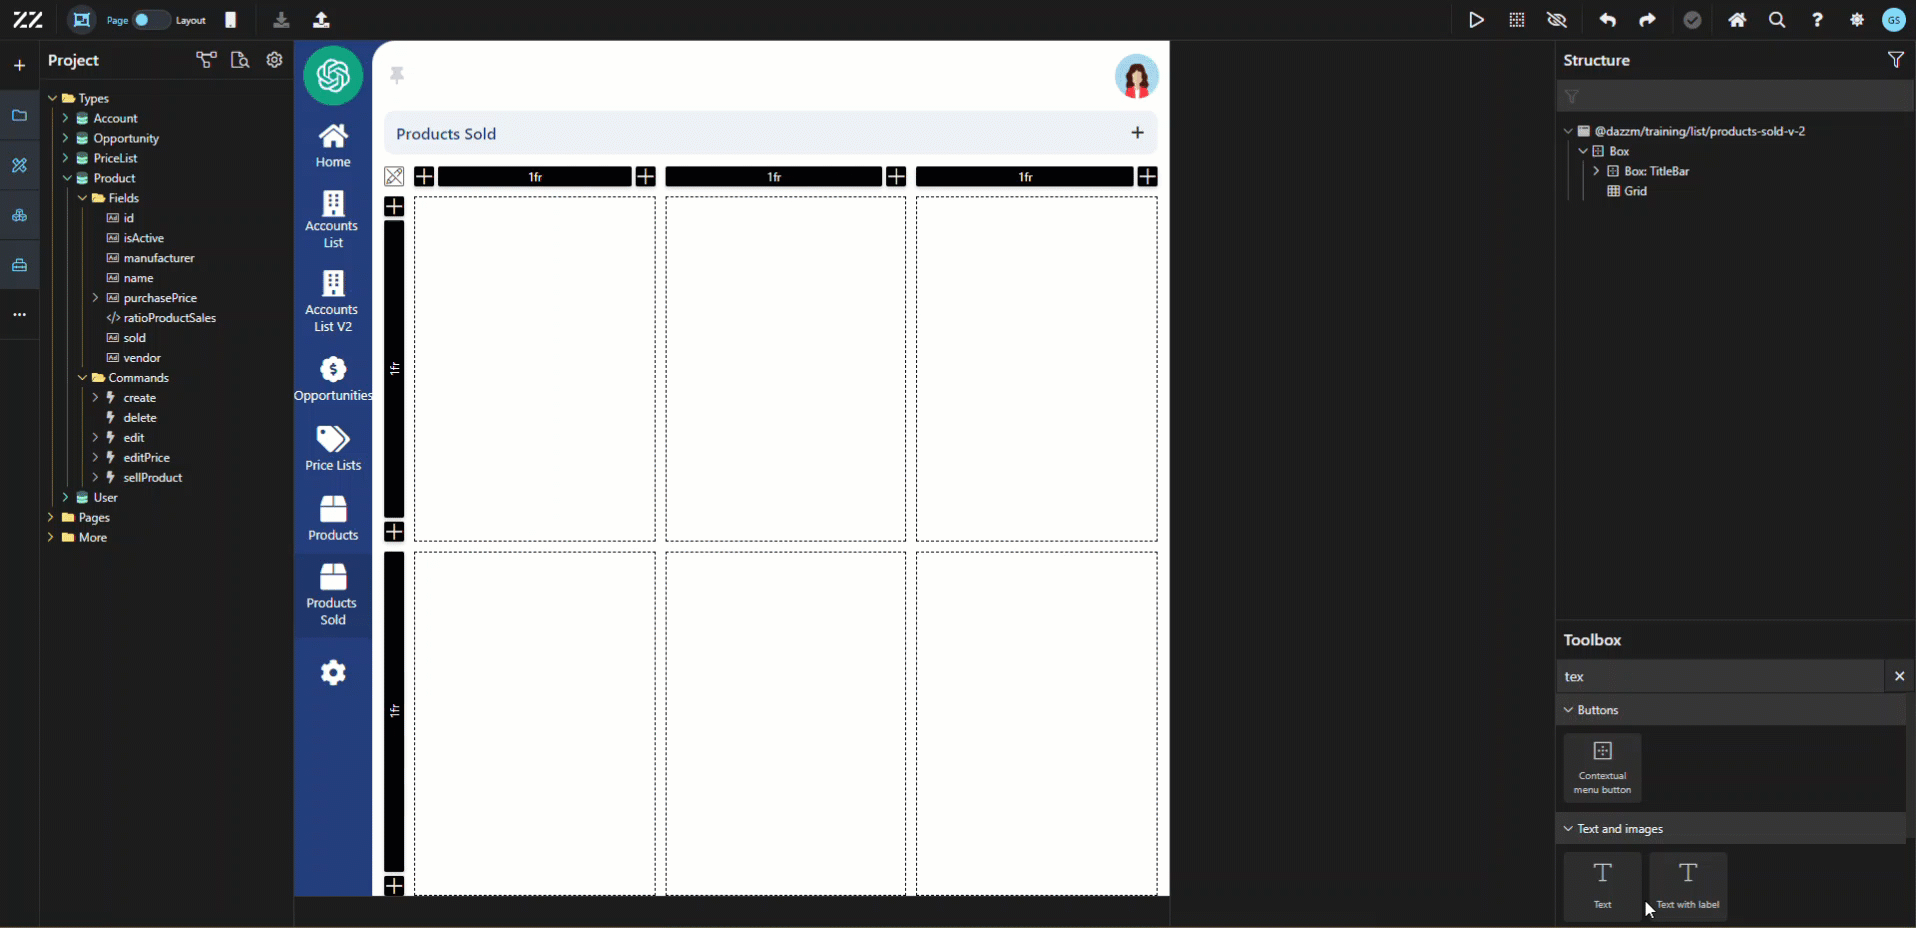
7.Adjusting Grid Rows for Layout Optimization
Section titled “7.Adjusting Grid Rows for Layout Optimization”Change the first row from 1fr to min-content.
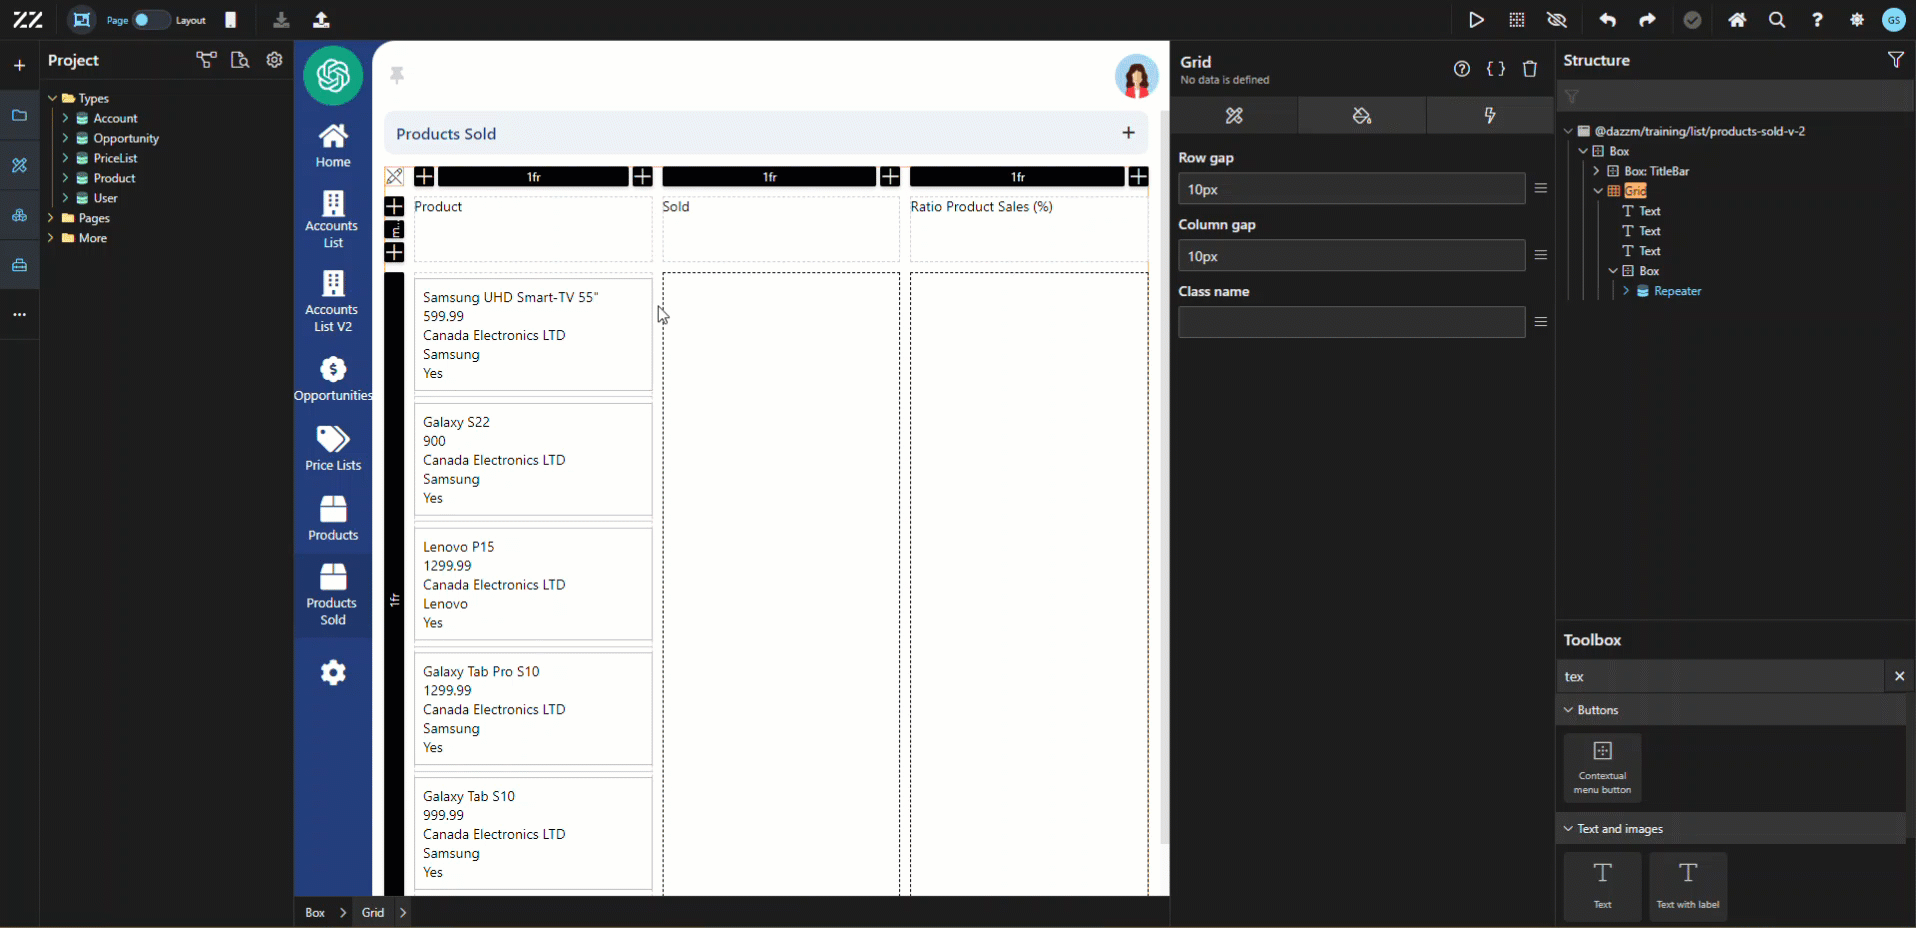
8.Using a Repeater for Product Display
Section titled “8.Using a Repeater for Product Display”Drag and drop the Product Aggregate bellow the grid, using the Structure panel and display is as a repeater. Then, wrap it in a vertical box and drag it in the second box of the first column.
9. Aligning Fields with Column Titles in the Grid
Section titled “9. Aligning Fields with Column Titles in the Grid”Stretch the column to take the full width of the grid.
10. Final Touches and Styling
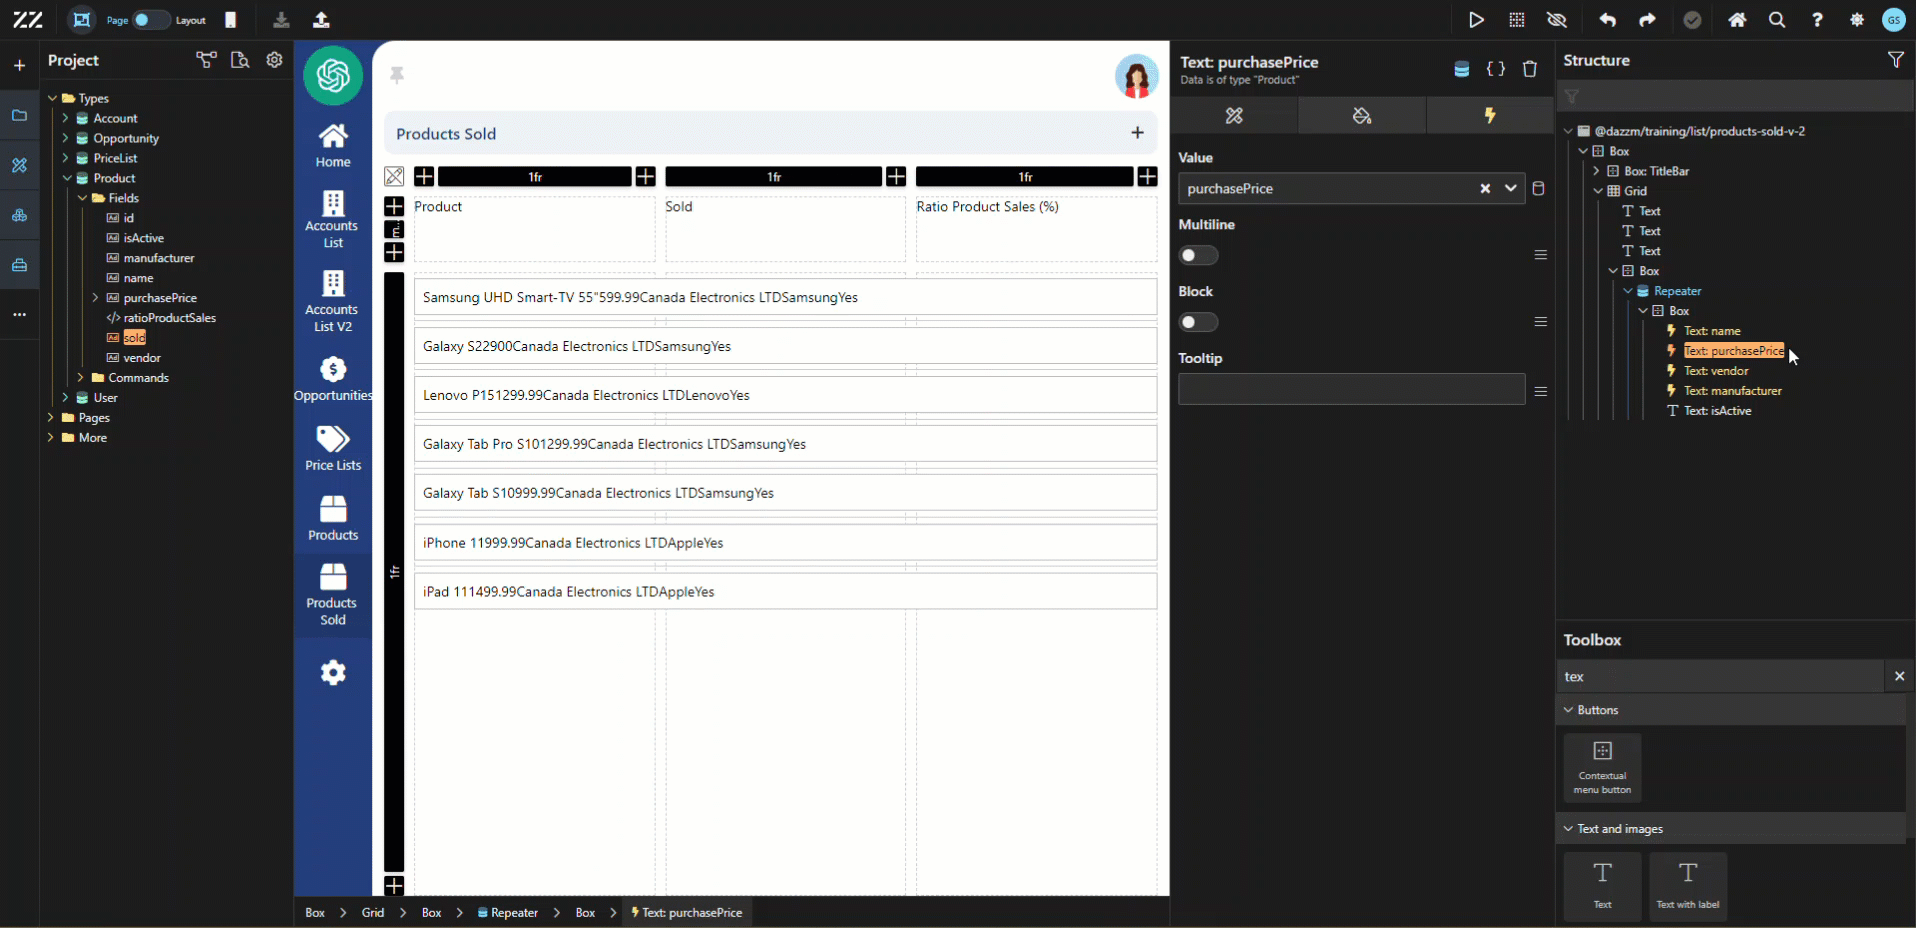
Section titled “10. Final Touches and Styling”Select the box in the repeater, containing the Product fields and, from the Attribute tab, change its orientation to Horizontal.

Remove all the fields in the repeater except the product name.
To add “sold” and “ratioProductSales”, exist the “edit grid” mode:
To align the fields with the column titles, insert a new grid component in the box containing the fields of the repeater. Activate the second grid’s “edit” mode to add a column and remove the second row. Then, change the first row from 1fr to min-content and move the corresponding field under the corresponding title. Close the grid “edit” mode to see that the columns are almost perfectly aligned with their title.
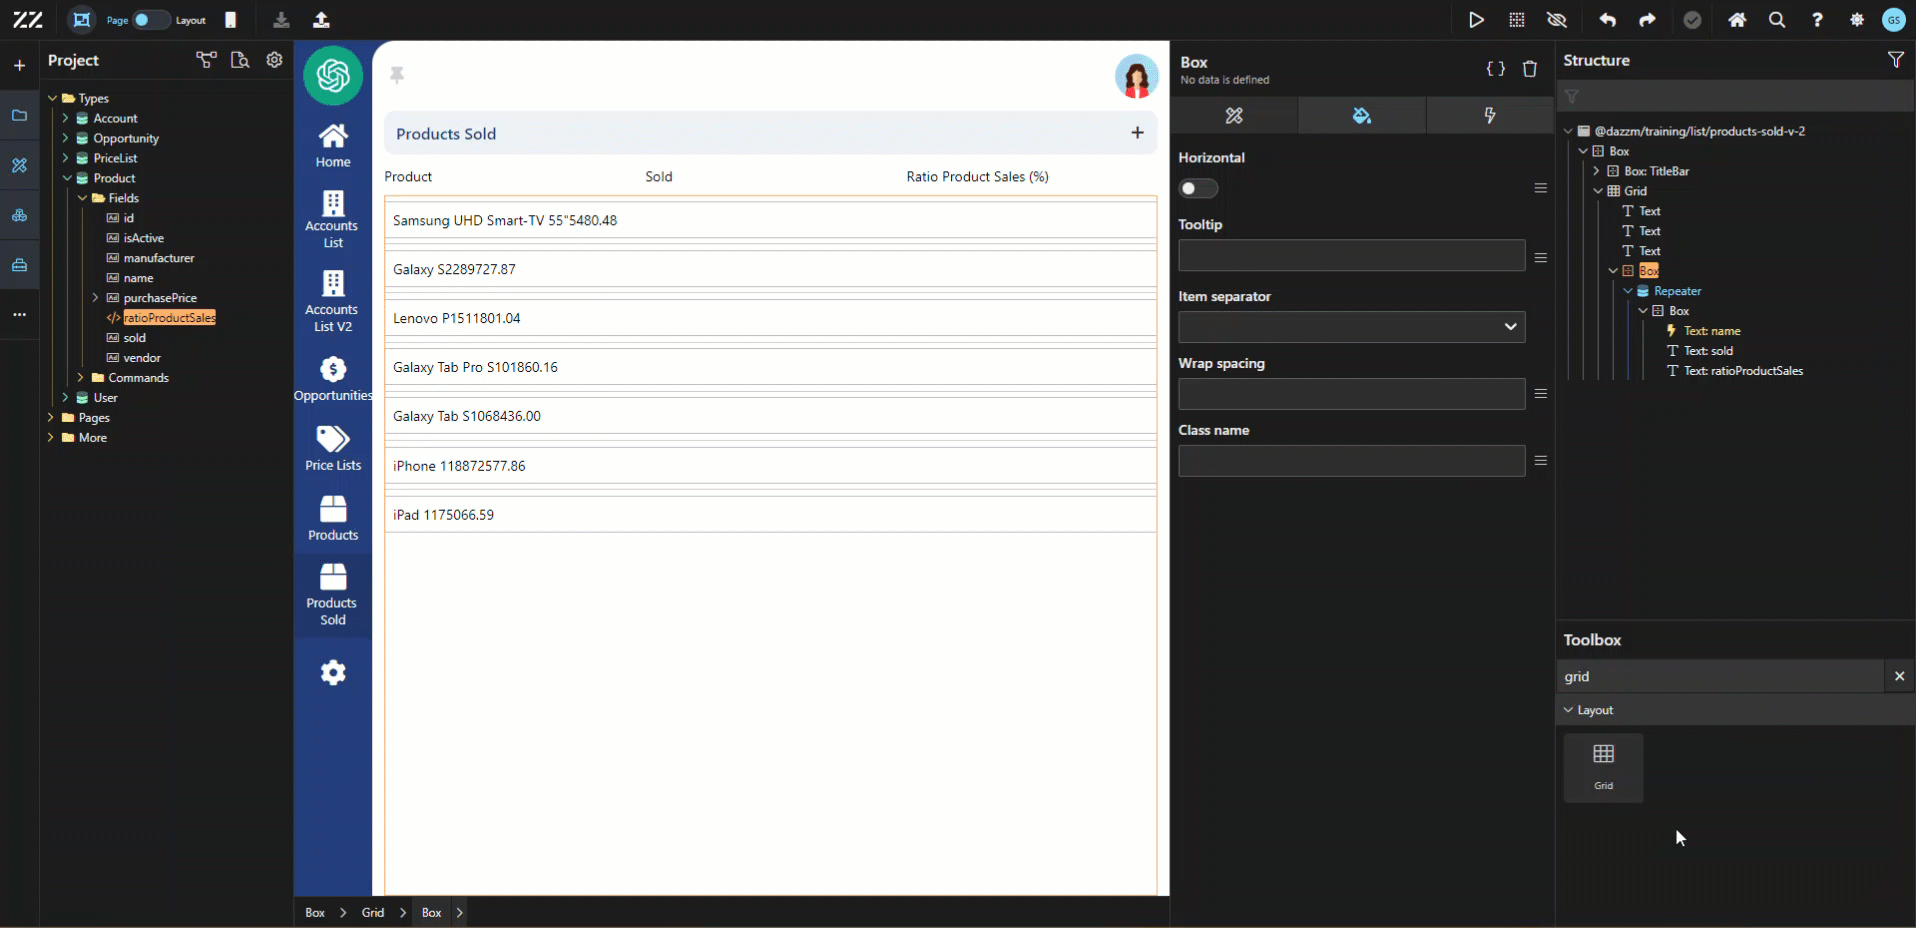
To fix the slight adjustment issue, simply delete the default style applied to the box inside the repeater.
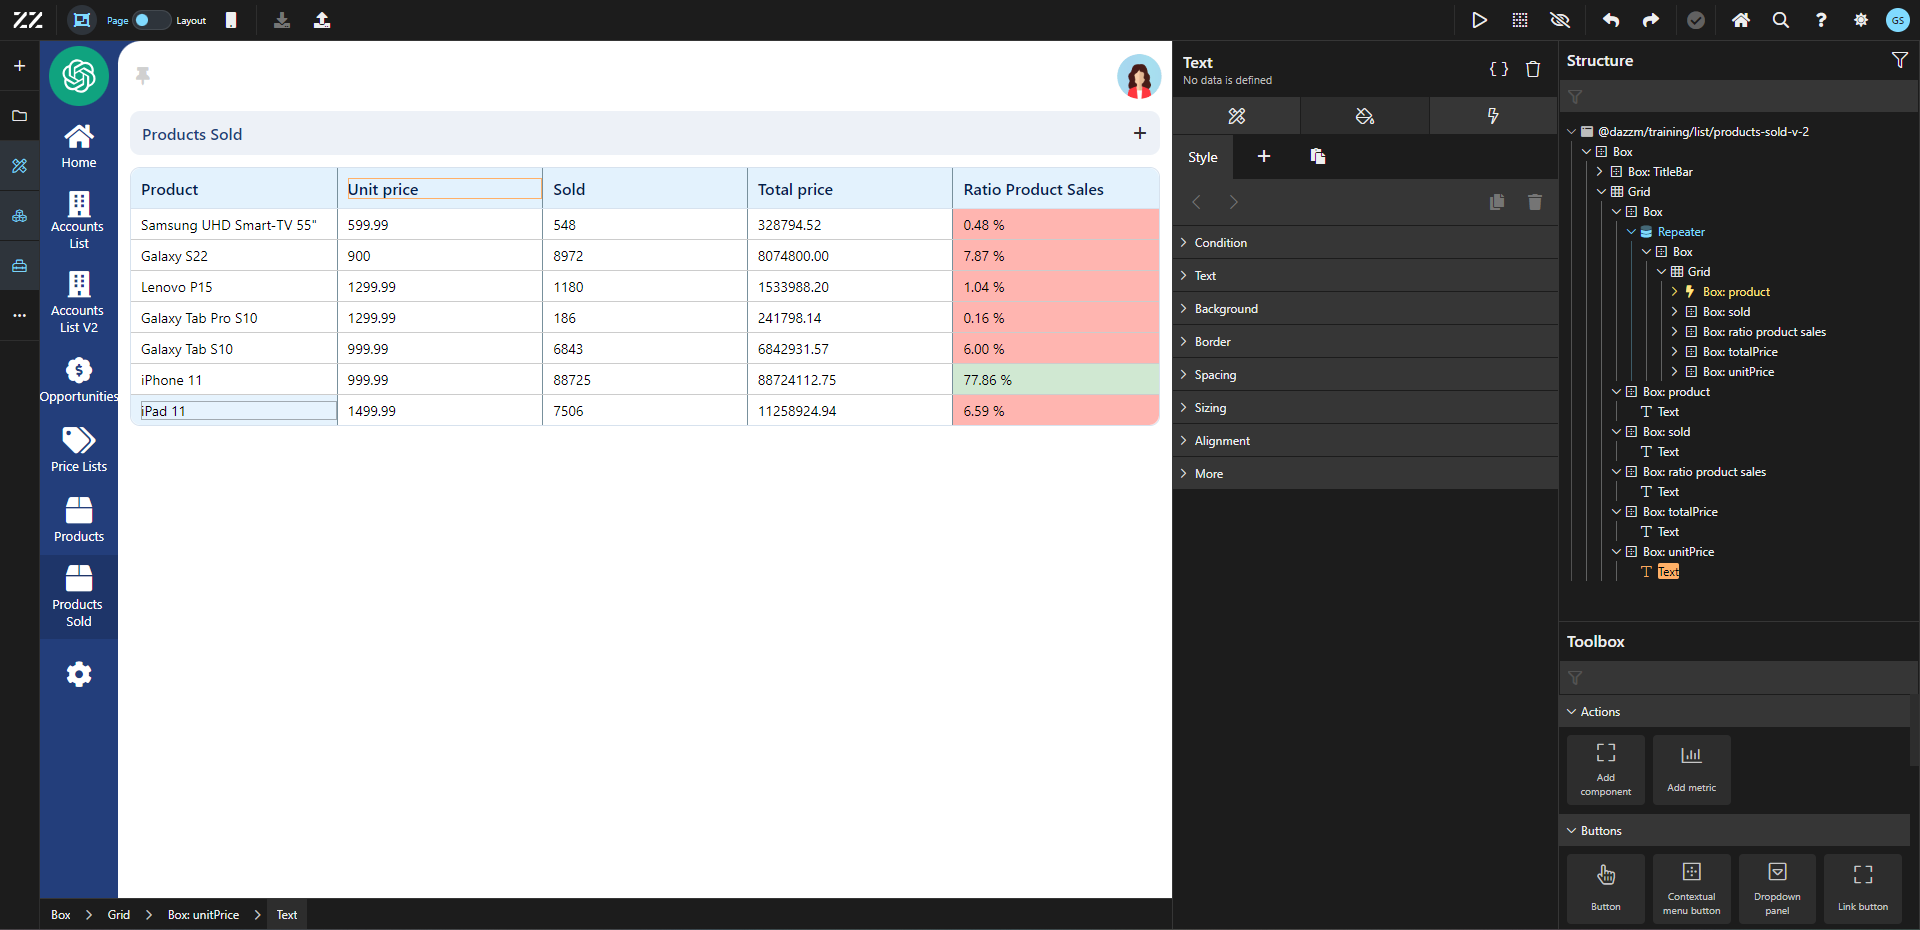
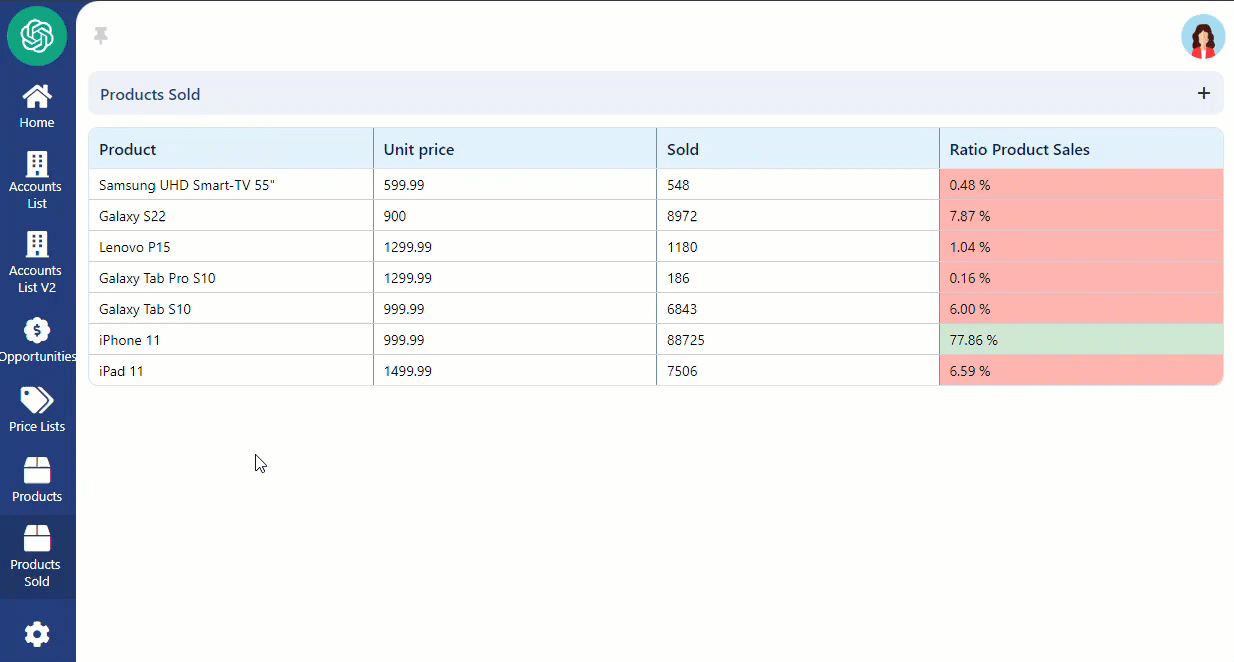
Here’s was it would look like after adding some styling elements and an extra column for “total price”.
Conclusion
Section titled “Conclusion”This guide demonstrates how to use a grid component to create a dynamic table displaying product sales data, including fields like product names, sold quantities, and sales ratios. By following these steps, you can effectively structure and style a table for clear and organized data presentation.